Looking for a drink that warms your heart and refreshes your spirit? Try this Cinnamon Orange Cozy Mocktail! With just a few easy steps, you’ll create a delicious blend of sweet orange juice and spicy cinnamon that’s perfect for any occasion. Whether you’re relaxing at home or hosting friends, this vibrant drink dazzles the senses. Let's dive into this simple recipe that brings cozy vibes right to your glass!
Why I Love This Recipe
- Refreshing Flavor: The combination of fresh orange juice and sparkling water creates a light and invigorating drink that's perfect for any occasion.
- Cozy Spice: The hint of cinnamon adds warmth and a comforting aroma, making this mocktail ideal for chilly evenings.
- Customizable Sweetness: You can easily adjust the sweetness with honey or maple syrup to suit your taste preferences, ensuring everyone enjoys it.
- Beautiful Presentation: The vibrant orange slices and aromatic cinnamon sticks make this mocktail visually stunning, perfect for impressing guests.
Ingredients
List of Ingredients
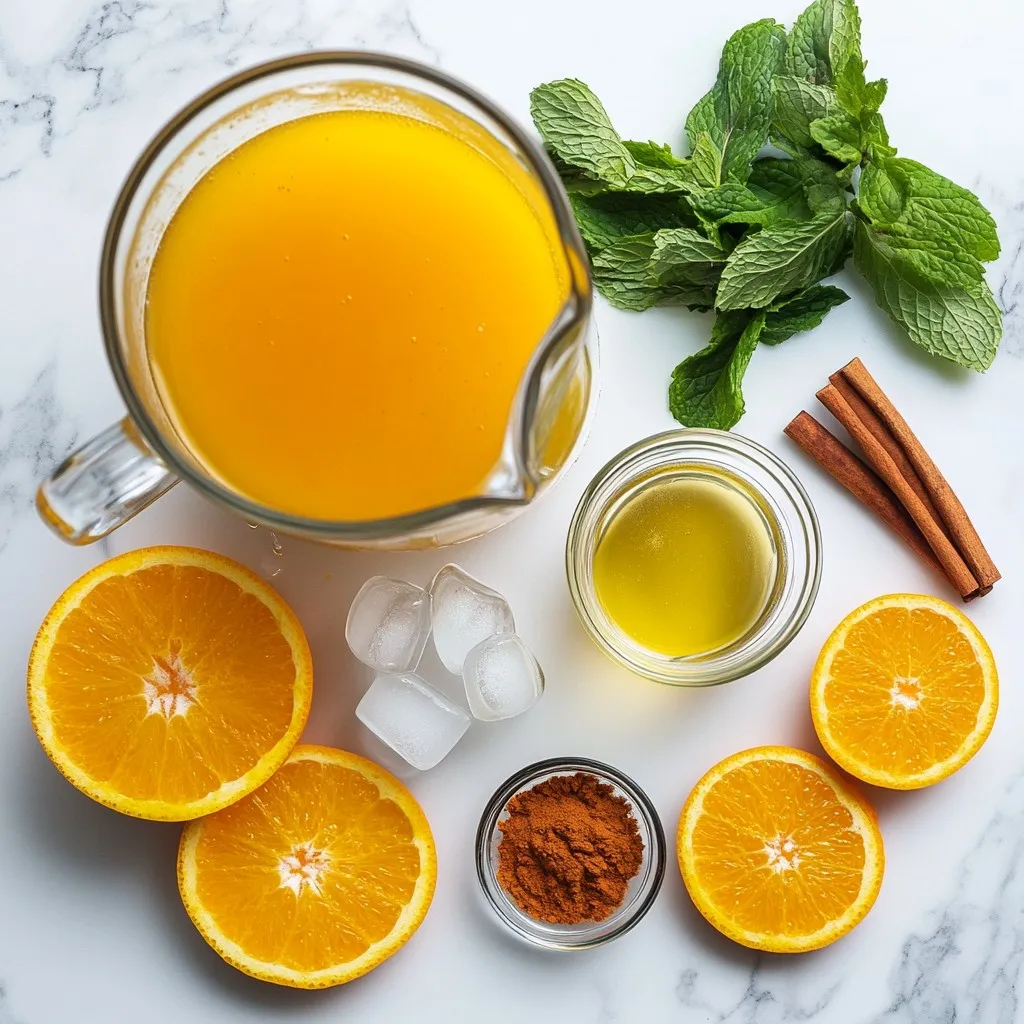
- 2 cups orange juice (freshly squeezed)
- 1 cup sparkling water
- 1 teaspoon ground cinnamon
- 1 tablespoon honey or maple syrup
- 1 orange (for garnish)
- 2 cinnamon sticks (for garnish)
- Ice cubes
- Mint leaves (optional garnish)
To make the Cinnamon Orange Cozy Mocktail, you need fresh orange juice. I suggest squeezing the oranges yourself for the best taste. You'll also need sparkling water to add some fizz. Ground cinnamon gives it that warm flavor we love.
For sweetness, you can use honey or maple syrup. Taste it after mixing to see if you like it sweeter.
Don't forget the garnishes! Slices of orange and cinnamon sticks make it look nice. Mint leaves add a fresh touch but are optional.
Gather all these ingredients, and you’re ready to make a cozy drink that brightens your day!
Step-by-Step Instructions
Preparation Steps
- First, grab a large pitcher.
- Combine 2 cups of orange juice with 1 cup of sparkling water.
- Add 1 teaspoon of ground cinnamon and 1 tablespoon of honey or maple syrup.
- Stir the mix well until the honey or syrup dissolves completely.
- This step helps the cinnamon blend in nicely.
- Now, fill your serving glasses with ice cubes.
Serving the Mocktail
- Carefully pour the orange mixture over the ice-filled glasses.
- Make each drink special by garnishing with orange slices and a cinnamon stick.
- If you want, add a few mint leaves for a fresh touch.
- Serve your cozy mocktail right away and enjoy!
Tips & Tricks
Sweetness Adjustment
To customize the sweetness of your Cinnamon Orange Cozy Mocktail, start with the honey or maple syrup. You can add one tablespoon, then taste it. If it needs more sweetness, add a little more. Remember, you can always add more sweetener, but you can't take it out. So, taste test before serving to get it just right.
Best Practices for Garnishing
Garnishing makes your drink look nice. Use fresh orange slices to enhance the color. Adding a cinnamon stick brings warmth to the drink and makes it smell great. If you want a fresh touch, add mint leaves. They not only look good but also add a cool flavor. Arrange everything nicely in the glass to make your mocktail pop!
Pro Tips
- Use Fresh Ingredients: Freshly squeezed orange juice enhances the flavor significantly compared to store-bought juice.
- Adjust Sweetness: Taste the mixture before serving and adjust the honey or maple syrup to your preferred sweetness level.
- Chill the Glasses: For an extra refreshing experience, chill your serving glasses in the freezer for 15 minutes before pouring the mocktail.
- Experiment with Garnishes: Feel free to add other garnishes like star anise or pomegranate seeds for a unique twist.
Variations
Flavor Add-Ins
You can change the taste of your cozy mocktail by adding more spices. Try adding nutmeg for a warm, sweet note. Cloves can also add a unique flavor. Just a pinch of these spices can transform your drink.
For sweetness, you have options. Use agave syrup, coconut sugar, or even stevia. Each sweetener adds its own twist. Adjust based on your taste. Always taste as you go to find the right balance.
Seasonal Twist Ideas
Seasonal fruits can make your mocktail even more special. In fall, add sliced apples or pears for a crisp touch. In summer, mix in fresh berries like strawberries or blueberries. They not only taste great but also look beautiful.
You can also use seasonal spices. In winter, try ginger or allspice. They add warmth and depth to your drink. For spring, fresh herbs like basil can brighten the flavor. Experiment to find your favorite seasonal mix!
Storage Info
Storing Leftovers
To keep your Cinnamon Orange Cozy Mocktail fresh, store it in the fridge. Use an airtight container. A glass jar or a pitcher works great. If you have extra garnishes, store them separately. This prevents them from getting soggy.
Best Practices for Reheating
This mocktail is best served cold. If you want to refresh it, add ice. You can also mix in more sparkling water. For the best taste, drink it within two days. After that, the flavors may fade. Always check if it smells or tastes off before drinking.
FAQs
Common Questions about Cinnamon Orange Cozy Mocktail
Can I make this mocktail ahead of time?
Yes, you can. Make the drink mix ahead of time. Store it in the fridge. Just add ice and garnish when you serve.
What are the health benefits of cinnamon and orange?
Cinnamon helps with blood sugar control. It also has antioxidants. Oranges are high in vitamin C. They boost your immune system and keep your skin healthy.
Is this recipe vegan-friendly?
Yes, this recipe is vegan. Use maple syrup instead of honey for a vegan option.
Serving Suggestions
What snacks pair well with this mocktail?
This mocktail goes great with light snacks. Try cheese and crackers, fruit platters, or veggie sticks. These snacks balance the sweetness of the drink.
Can it be served at parties or gatherings?
Absolutely! This mocktail is perfect for parties. It is easy to make and looks beautiful. Guests will love its fresh taste and cozy vibe.
This blog post guides you through making a fresh cinnamon orange mocktail. We covered the simple ingredients and easy steps, plus tips for sweetness and garnish. You learned about flavor variations and how to store leftovers.
Enjoy mixing this drink at home. It’s fun and healthy, perfect for any occasion. Try different spices and fruits to make it your own. You're ready to impress your friends with a tasty and eye-catching mocktai