Looking for a tasty, healthy snack that satisfies your sweet tooth? These Chocolate Peanut Butter Protein Balls are perfect for you! Packed with protein and minimal prep, they’re great for busy days or a quick energy boost. In this post, I’ll walk you through simple ingredients, easy instructions, and clever tips. Soon, you’ll have your new favorite go-to snack ready to enjoy! Let’s dive in!
Why I Love This Recipe
- Healthy Snack Option: These protein balls are a nutritious way to satisfy your sweet tooth while providing a good source of protein and fiber.
- Quick and Easy: With only 15 minutes of prep time, these bites are perfect for a last-minute snack or post-workout treat.
- Customizable: You can easily modify the ingredients to suit your taste, whether it's adding different nut butters or swapping in your favorite mix-ins.
- Delicious Flavor: The combination of chocolate and peanut butter creates a rich, indulgent flavor that feels like a treat, without the guilt!
Ingredients
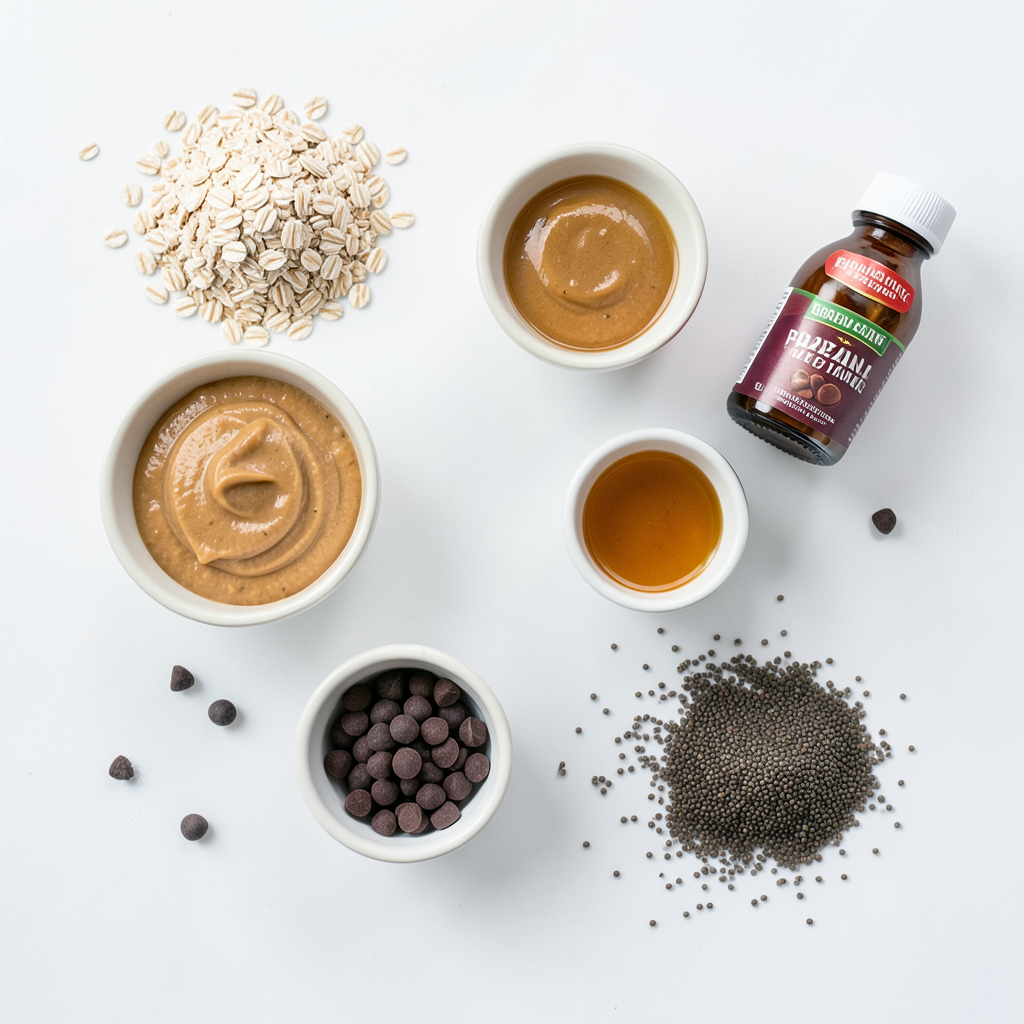
List of Main Ingredients
- 1 cup rolled oats
- 1/2 cup natural peanut butter
- 1/3 cup honey or maple syrup
- 1/4 cup chocolate protein powder
- 1/4 cup mini chocolate chips
- 1/4 teaspoon salt
- 1 teaspoon vanilla extract
- 2 tablespoons chia seeds (optional)
You need simple ingredients for these tasty protein balls. Rolled oats give them a great base. Natural peanut butter adds creaminess and protein. Honey or maple syrup sweetens the mix while keeping it healthy.
Chocolate protein powder boosts the protein content without adding extra sugar. Mini chocolate chips add sweetness and a fun crunch. A pinch of salt balances all the flavors. Vanilla extract brings warmth and depth. You can add chia seeds for more texture and health benefits, but they are optional.
Nutritional Information
- Protein content per ball: About 4-5 grams
- Caloric value per serving: Approximately 100 calories
- Overview of health benefits: High in protein, fiber, and healthy fats
These protein balls are a smart snack choice. Each ball has 4-5 grams of protein, making them perfect for energy. They also offer fiber from oats, which aids digestion. The healthy fats in peanut butter keep you full longer.
Equipment Needed
- Mixing bowls
- Baking sheet
- Parchment paper
- Measuring cups and spoons
To make these protein balls, you only need a few simple tools. A mixing bowl helps combine your ingredients easily. Use a baking sheet to hold the balls while they chill. Parchment paper keeps them from sticking. Measuring cups and spoons ensure you get the right amounts for each ingredient.
Step-by-Step Instructions
Preparation of Dry Ingredients
Start by taking a large mixing bowl. Add 1 cup of rolled oats, 1/4 cup of chocolate protein powder, and 1/4 teaspoon of salt. Mix these dry ingredients well. Make sure to break up any clumps. This step helps the flavors blend later.
Mixing Wet Ingredients
In another bowl, combine 1/2 cup of natural peanut butter, 1/3 cup of honey or maple syrup, and 1 teaspoon of vanilla extract. Blend them together until you get a smooth texture. This mixture will add sweetness and richness to your protein balls.
Combining Mixtures
Now, pour the wet mixture into the bowl with the dry ingredients. Stir it all together until everything is evenly mixed. Next, fold in 1/4 cup of mini chocolate chips and 2 tablespoons of chia seeds if you want extra texture. Make sure these are spread out well in the mixture.
Rolling Protein Balls
Using your hands, scoop about 1 tablespoon of the mixture. Roll it into a ball shape. Place each ball on a baking sheet lined with parchment paper. Keep rolling until you use all the mixture. This should make about 12 to 15 protein balls, perfect for snacking.
Chilling the Protein Balls
Refrigerate the protein balls for at least 30 minutes. This helps them firm up and hold their shape. After chilling, you can store them in an airtight container in the fridge. Enjoy them right away or save them for later!
Tips & Tricks
Perfecting Texture
To get the right texture for your protein balls, adjust the moisture. If your mix feels too dry, add a bit more honey or peanut butter. If it’s too wet, add extra oats or protein powder. This way, you can create the perfect consistency that holds together well.
Mixing Techniques
To ensure all ingredients mix evenly, start with dry ingredients first. Combine the rolled oats, protein powder, and salt in a bowl. Then, mix the wet ingredients separately. Pour the wet mix into the dry slowly. Stir gently but thoroughly until every part is well combined.
Presentation Tips
For a fun and appealing look, arrange the protein balls on a nice plate. You can sprinkle some mini chocolate chips around them for extra flair. This simple touch makes your snack look gourmet and inviting.
Pro Tips
- Chill for Firmness: Refrigerating the protein balls helps them firm up nicely, making them easier to handle and enhancing their texture.
- Customize Your Mix-ins: Feel free to add nuts, seeds, or dried fruits to the mixture for extra flavor and nutrition.
- Use Natural Sweeteners: Opt for raw honey or pure maple syrup to keep your protein balls healthy and delicious.
- Storage Matters: Store the protein balls in an airtight container in the fridge to maintain freshness and texture for up to a week.
Variations
Flavor Enhancements
You can make these protein balls even better by adding spices. A sprinkle of cinnamon adds warmth and a hint of sweetness. Nutmeg can bring a cozy flavor too. Try mixing in a little of either spice to your wet ingredients. Just a pinch can transform the taste!
Substituting Ingredients
If you want to switch things up, you can change the peanut butter. Almond butter works well and has a nice flavor. You can also try sunflower seed butter for a nut-free option. For sweeteners, you can swap honey for maple syrup or agave nectar. Each choice gives a unique taste!
Additional Mix-Ins
Enhancing your protein balls with mix-ins can add texture and flavor. Consider adding dried fruits like cranberries or raisins. Chopped nuts like walnuts or almonds can give a nice crunch. You can also toss in seeds like pumpkin or sunflower for extra nutrients. These additions make each bite exciting!
Storage Info
Best Storage Practices
To keep your Chocolate Peanut Butter Protein Balls fresh, store them in an airtight container. Glass or plastic containers with tight-fitting lids work best. Avoid using bags that do not seal well. Place the container in the fridge to maintain the right temperature and prevent spoilage.
Shelf Life
These protein balls can stay fresh in the fridge for up to one week. After that, their taste and texture may decline. If you notice any changes in smell or appearance, it’s best to toss them.
Freezing Instructions
If you want to keep them longer, freezing is a great option. To freeze, arrange the protein balls in a single layer on a baking sheet. Place them in the freezer for about an hour until firm. Once frozen, transfer the balls to a freezer-safe bag or container. They can last for up to three months in the freezer. Just thaw them in the fridge before enjoying.
FAQs
How long does it take to make Chocolate Peanut Butter Protein Balls?
It takes about 15 minutes to prepare these protein balls. After mixing, you should chill them for at least 30 minutes. This chilling time helps them firm up. So, the total time is around 45 minutes from start to finish.
Can I replace peanut butter with another nut butter?
Yes, you can use other nut butters. Almond butter or cashew butter work well. Each type of nut butter adds its own flavor. If you choose sunflower seed butter, it makes the recipe nut-free. Just keep in mind that the taste will change slightly.
Are these protein balls suitable for meal prep?
Definitely! These protein balls are great for meal prep. You can make them ahead and store them in the fridge. They stay fresh for up to a week. Just keep them in an airtight container for the best taste and texture.
Can children eat Chocolate Peanut Butter Protein Balls?
Yes, kids can enjoy these protein balls. They are packed with nutrients and taste great. The oats and peanut butter provide energy. Plus, they have a fun chocolate flavor that kids love. Just watch for allergies to nuts or seeds.
In this article, we explored how to make Chocolate Peanut Butter Protein Balls. We discussed the key ingredients, their nutritional benefits, and how to prepare them step by step. I shared tips for perfect texture and creative presentations. You can also make fun variations by changing flavors or ingredients. Remember to store them properly to keep them fresh. With these protein balls, you get a tasty snack that packs a punch. Enjoy making and sharing them!