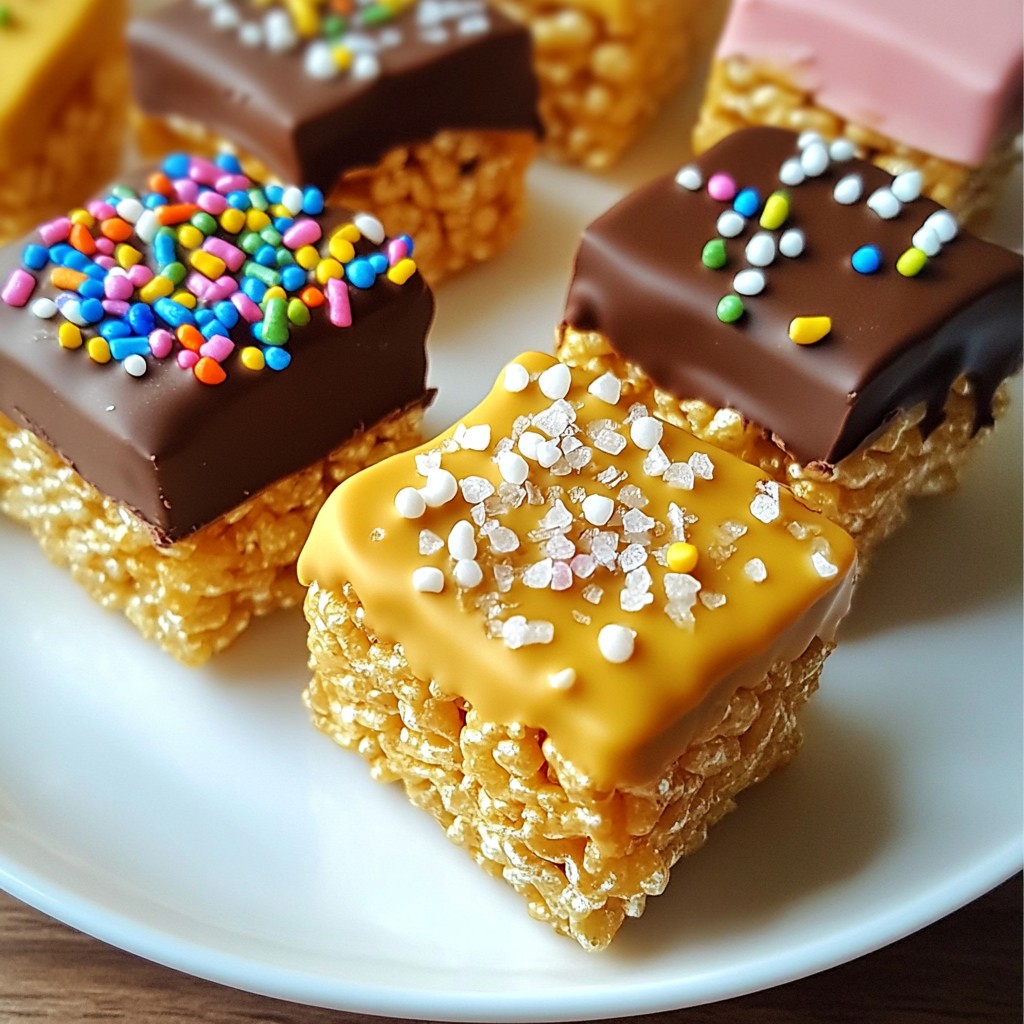
Chocolate-covered Rice Krispie treats are a fun and easy snack you can make at home! In this guide, I’ll show you step-by-step how to create these delightful treats that everyone loves. With simple ingredients and quick instructions, you'll impress your friends and family in no time. Let’s dive into the sweet world of chocolatey goodness and get started on these yummy desserts!
Why I Love This Recipe
- Easy to Make: This recipe requires minimal ingredients and steps, making it perfect for both novice and experienced bakers.
- Customizable: You can easily switch up the toppings and chocolate types to suit your taste, making each batch unique!
- Perfect for Parties: These treats are always a hit at gatherings, adding a touch of nostalgia and fun to any event.
- Deliciously Indulgent: The combination of crispy cereal and rich chocolate creates a delightful treat that's hard to resist.
Ingredients
List of Key Ingredients
- 4 cups Rice Krispies cereal
- 3 tablespoons unsalted butter
- 1 package (10 oz) mini marshmallows
- 1 teaspoon vanilla extract
- 1 cup milk chocolate chips
- 1 cup dark chocolate chips
- Sea salt, for sprinkling (optional)
- Sprinkles or nuts for decoration (optional)
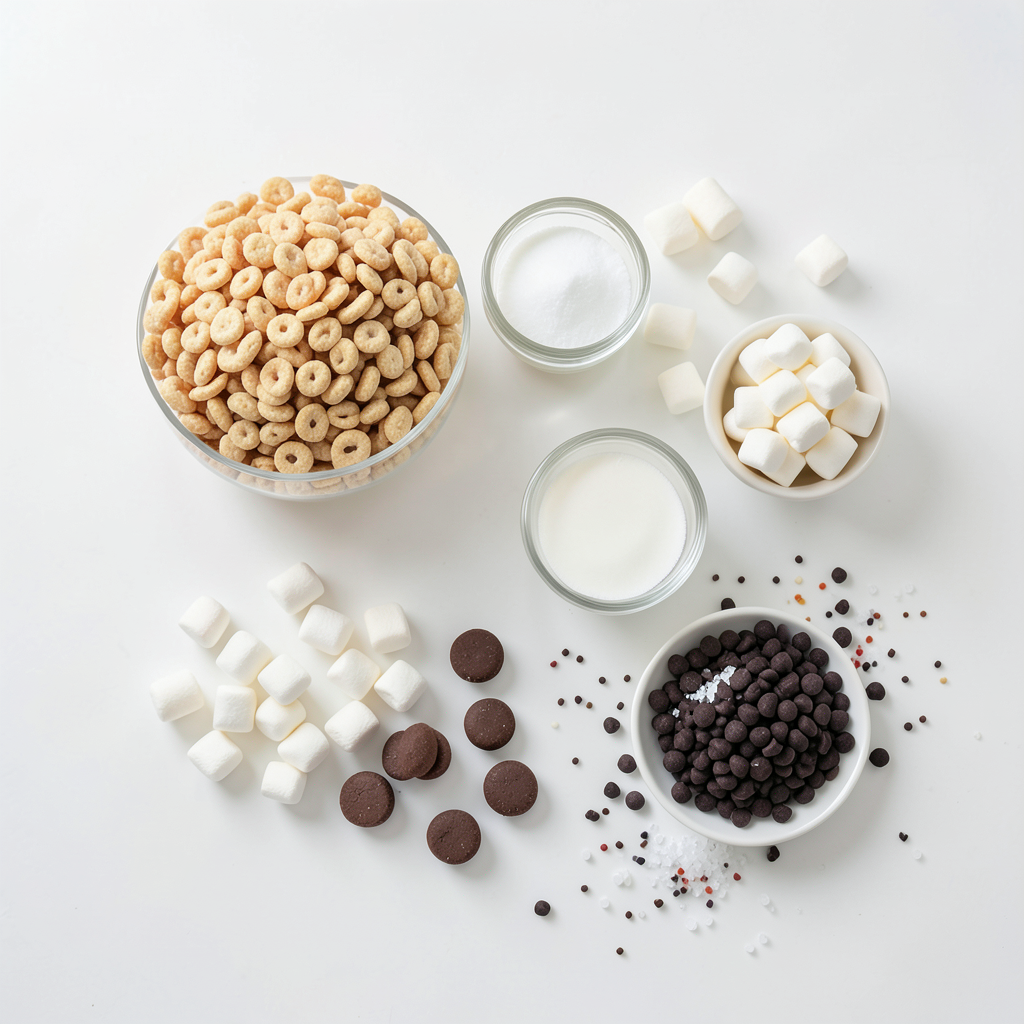
To make chocolate covered Rice Krispie treats, you need a few simple ingredients. Rice Krispies cereal gives the treats their crispy texture. Unsalted butter adds richness. Mini marshmallows bring sweetness and stickiness. Vanilla extract adds a warm flavor that enhances the treats.
For the chocolate coating, you will use both milk and dark chocolate chips. Mixing these two creates a nice balance of sweetness and depth. If you want to add a little flair, you can sprinkle sea salt on top. This contrast makes each bite even more exciting.
Optional decorations like sprinkles or chopped nuts can make your treats look festive and fun. Choose colors that match the occasion or your personal taste. The right mix of ingredients makes this treat extra special.
Step-by-Step Instructions
Prepare the Marshmallow Mixture
- Start by melting 3 tablespoons of unsalted butter in a large pot over medium heat.
- Once melted, add in 10 ounces of mini marshmallows. Stir until they melt and blend into a smooth mixture.
- Remove the pot from the heat and mix in 1 teaspoon of vanilla extract. This adds a nice flavor to your treats.
Mix in Rice Krispies
- Next, pour 4 cups of Rice Krispies cereal into the marshmallow mix. Stir until all the cereal is well-coated.
- Lightly grease a 9x13 inch baking dish and press the mixture evenly into the dish. Make sure it is packed down well.
- Allow the mixture to cool for 30 minutes before cutting into squares.
Chocolate Dipping Process
- For the chocolate, combine 1 cup of milk chocolate chips and 1 cup of dark chocolate chips in a microwave-safe bowl.
- Microwave in 30-second bursts, stirring in between, until the chocolate is melted and smooth.
- Take each Rice Krispie square and dip it halfway into the melted chocolate. Let any extra chocolate drip off.
- Place the dipped squares on a parchment-lined baking sheet. Sprinkle with sea salt or decorate with sprinkles before the chocolate sets.
- Let the treats cool and harden at room temperature or in the fridge for about 20 minutes.
Tips & Tricks
Achieving the Perfect Texture
To avoid sticky treats, use butter to grease your hands. This keeps the mixture from sticking to you. Press the mixture firmly into the baking dish. This helps it hold shape. For even chocolate coverage, dip quickly. Let excess chocolate drip off before placing it on parchment paper.
Flavor Enhancement Ideas
You can add fun flavors! Try mixing in peanut butter or Nutella into the marshmallow mix. For a fruity twist, add dried fruits like cranberries or cherries. If you want less sweetness, reduce the chocolate chips. You can also use dark chocolate for a richer taste.
Decoration Ideas
Get creative with toppings! Use colorful sprinkles, nuts, or even crushed candies. For seasonal fun, think about themed decorations. Use red and green sprinkles for Christmas or pastel colors for Easter. Let your imagination shine through in your decorative choices!
Pro Tips
- Use Fresh Marshmallows: Ensure your mini marshmallows are fresh for the best gooey texture. Stale marshmallows can result in a dry and crumbly treat.
- Chill the Treats: After cutting the Rice Krispie squares, place them in the refrigerator for about 10 minutes before dipping. This will help them hold their shape better.
- Experiment with Chocolate: You can use white chocolate or flavored candy melts for dipping if you want to switch things up. Each type adds a unique taste to your treats.
- Customize Toppings: Get creative with your toppings! Try adding crushed cookies, coconut flakes, or colorful candy to make your treats more visually appealing and fun.
Variations
Different Chocolate Options
You can use many types of chocolate for your treats. White chocolate adds a sweet twist. Flavored chocolates, like mint or orange, can make your treats special. Mixing milk and dark chocolate gives a rich taste. This blend balances sweetness and depth. Each option brings its own fun flavor.
Alternative Ingredients
If you need gluten-free options, choose gluten-free Rice Krispies. You can also swap butter for coconut oil for a dairy-free choice. For sweeteners, use organic honey or maple syrup. These natural sweeteners can make your treats healthier. They change the flavor slightly, but they taste great.
Themed Variations
Get creative for holidays or events! Use colored sprinkles for birthdays or red and green for Christmas. You can also add themed toppings like candy corn for Halloween. Custom flavors can fit any event, too. Try adding peanut butter or caramel to the marshmallow mix for a new spin. The options are endless!
Storage Info
Best Practices for Storage
Store your chocolate-covered treats in a cool, dry place. Keep them in an airtight container. This helps maintain freshness. You can use a plastic or glass container. Just make sure it seals well. Avoid stacking the treats to prevent them from sticking together.
Shelf Life
These treats last about three days at room temperature. They may last up to a week in the fridge. However, refrigeration can change their texture. The chocolate may get a bit hard, and the treats may become chewier. If you prefer a softer bite, store them at room temperature.
Freezing Chocolate-Covered Rice Krispie Treats
To freeze, wrap the treats tightly in plastic wrap. Then place them in a freezer bag. They can stay frozen for up to two months. When you're ready to eat, take them out and let them thaw. Leave them at room temperature for about 30 minutes. This keeps them soft and tasty.
FAQs
Can I use different types of cereal?
Yes, you can use other cereals! Alternatives like Corn Pops or Fruity Pebbles work great. They add unique flavors and colors to your treats. Just ensure the cereal you choose sticks well to the marshmallow mix. Experimenting with different textures can lead to fun results!
Is this recipe nut-free?
This recipe is nut-free if you use the right ingredients. The main components, like Rice Krispies and marshmallows, do not contain nuts. However, check the labels to confirm. Cross-contamination can happen in factories. If you have a nut allergy, use caution when choosing decorations.
How to make these treats vegan?
You can easily make these treats vegan! Start by using dairy-free butter and vegan marshmallows. For chocolate, select dairy-free chocolate chips. These swaps keep the yummy taste while making it plant-based. Enjoy your delicious vegan treats just as much!
You now have all the steps to make tasty chocolate-covered Rice Krispie treats. We covered the key ingredients, easy instructions, and helpful tips for great texture and flavor. You can get creative with different chocolates and add special decorations for any occasion. Remember to store your treats properly to keep them fresh. Feel free to experiment with variations or make them vegan. Enjoy creating these fun snacks that everyone will love!