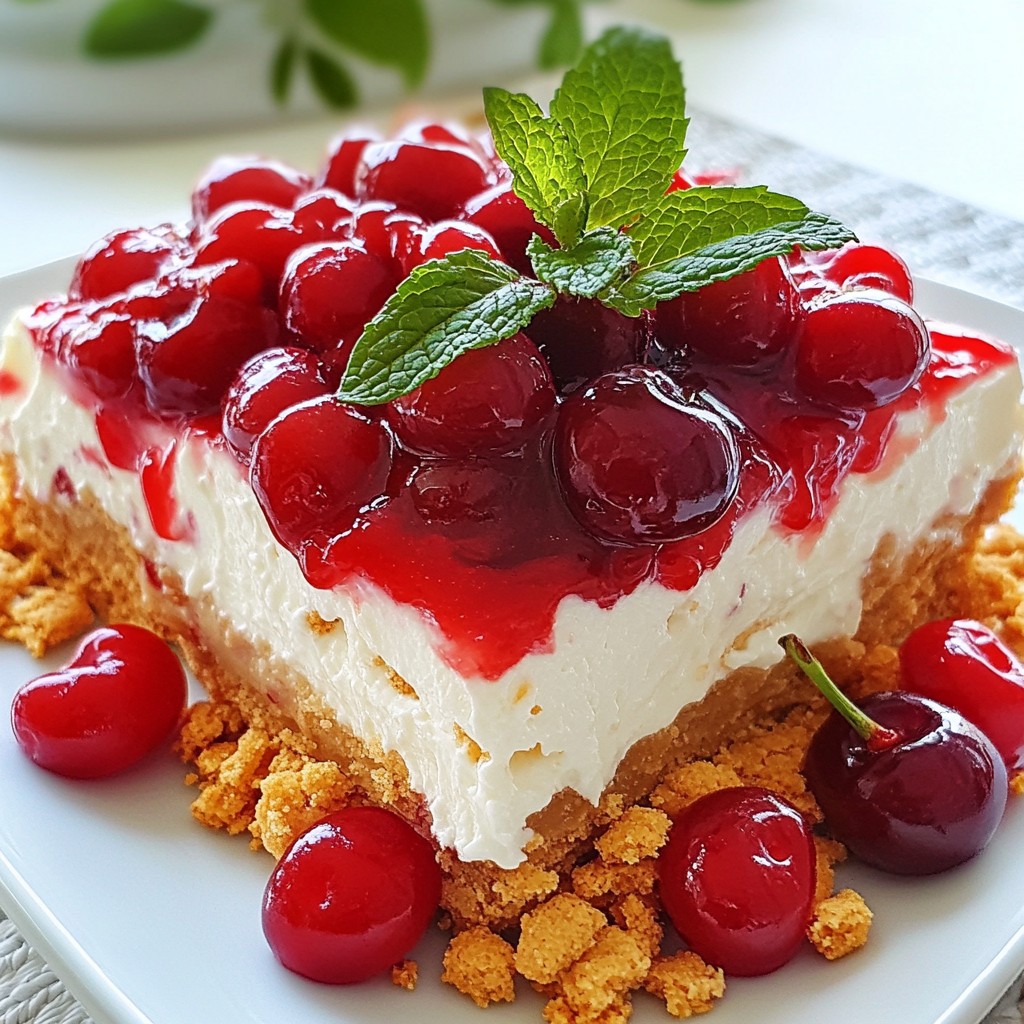
Get ready to indulge in a sweet delight with this Cherry Cheesecake Icebox Cake! This no-bake treat blends creamy cheesecake with fresh cherries, creating a refreshing dessert that's perfect for any occasion. In this post, I'll guide you through simple steps, tips for fresh ingredients, and variations to suit any diet. Whether you're a baking pro or a newbie, this cake will impress your guests and satisfy your cravings!
Why I Love This Recipe
- Easy to Make: This Cherry Cheesecake Icebox Cake requires no baking, making it a perfect dessert for hot summer days or a quick treat any time of the year.
- Layered Flavors: The combination of creamy cheesecake filling and sweet cherry pie filling creates a delightful balance of flavors in every bite.
- Crowd-Pleaser: With its beautiful presentation and delicious taste, this cake is sure to impress guests at any gathering or special occasion.
- Make Ahead: This cake can be prepared in advance and stored in the refrigerator, making it a convenient choice for busy hosts.
Ingredients
Full List of Ingredients
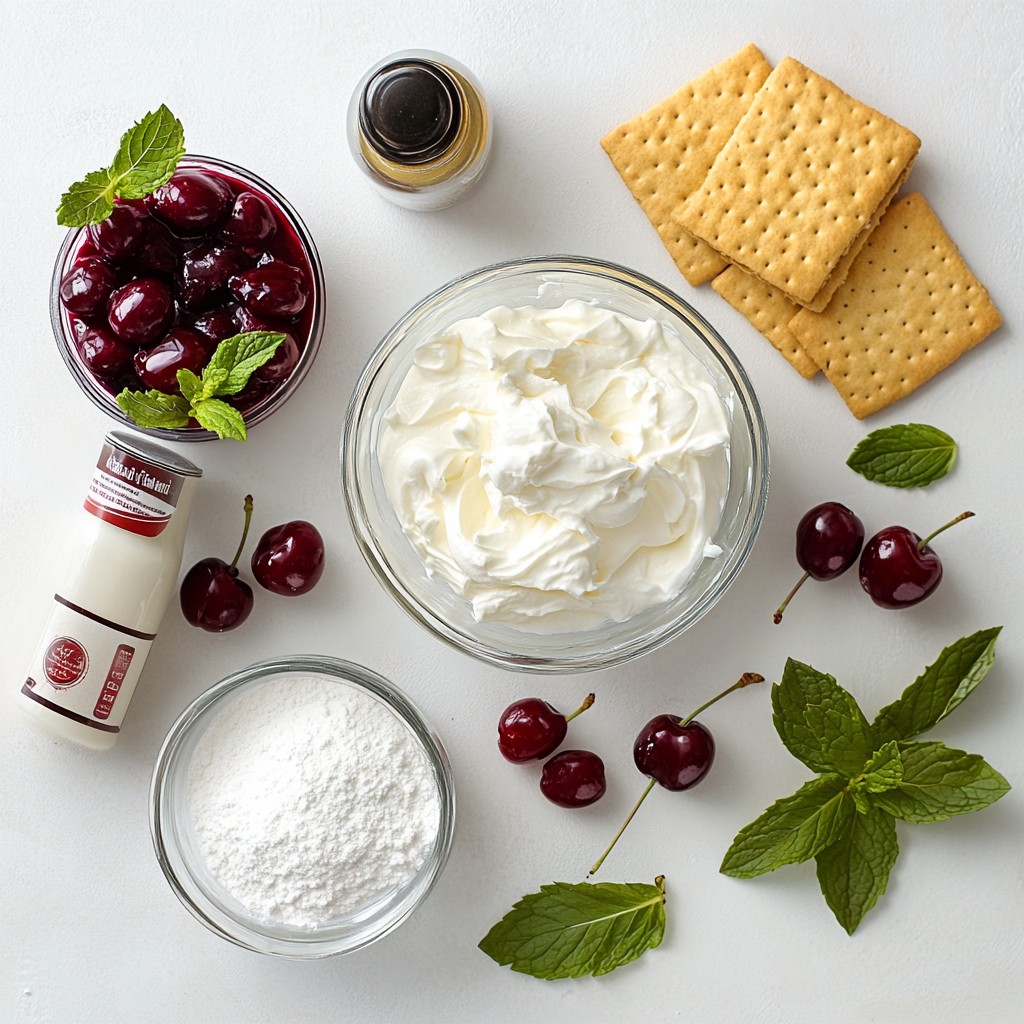
To make Cherry Cheesecake Icebox Cake, gather these simple ingredients:
- 2 cups heavy whipping cream
- 8 ounces cream cheese, softened
- 1 cup powdered sugar
- 1 teaspoon vanilla extract
- 1 cup cherry pie filling (store-bought or homemade)
- 1 package (14 oz) graham crackers
- Fresh cherries and mint leaves for garnish
Ingredient Substitutions
You can swap some ingredients for different flavors or needs. Here are a few ideas:
- Use coconut cream instead of heavy cream for a dairy-free option.
- For a lighter cake, try low-fat cream cheese.
- If you don’t have powdered sugar, regular sugar works. Just blend it finely.
- Substitute cherry pie filling with other fruit fillings like blueberry or strawberry.
Tips for Choosing Fresh Ingredients
Choosing the best ingredients makes your cake taste great. Here’s how to pick them:
- For heavy cream, look for a high fat content (at least 36%).
- When selecting cream cheese, check for a smooth texture and no lumps.
- Fresh cherries should be firm and bright in color. Avoid any that are soft or bruised.
- If using homemade cherry pie filling, pick ripe cherries for the best flavor.
These tips help you create a delicious Cherry Cheesecake Icebox Cake that everyone will love!
Step-by-Step Instructions
Preparation Steps Overview
To start, gather your ingredients. You need heavy cream, cream cheese, powdered sugar, vanilla, cherry pie filling, and graham crackers. I find it helpful to have everything ready before you begin. This makes the process smooth and fun!
1. First, in a large bowl, whip the heavy cream until soft peaks form. This will take a few minutes. You want it fluffy but not too stiff. Then, set it aside.
2. Next, in another bowl, mix the softened cream cheese, powdered sugar, and vanilla extract together. Beat until the mix is smooth. This step is key; it makes the filling creamy.
3. Now, gently fold the whipped cream into the cream cheese mix. Use a spatula for this. Be careful not to deflate the whipped cream. You want to keep it light and airy.
Layering the Cake Properly
Layering is where the magic happens! Start by laying a single layer of graham crackers on your serving platter. This forms the base of your cake.
1. Spread a third of the cream cheese mixture over the crackers. Make sure to cover them fully.
2. Now, add half of the cherry pie filling on top. This gives a fruity burst in each bite.
3. Repeat this process. Add another layer of graham crackers, then more cream cheese mixture, and the rest of the cherry filling. Finally, top it off with one last layer of graham crackers.
Important Mixing Techniques
Mixing is crucial for texture. When you whip the cream, stop as soon as soft peaks form. If you over-whip, it may turn grainy.
1. When folding the whipped cream into the cream cheese, use a light hand. This keeps the mixture airy.
2. Always start with the cream cheese mixture as your base when layering. It helps to hold the cake together well.
3. Remember to cover the whole cake with any leftover cream cheese mix. This not only looks good but also adds more flavor.
Refrigerate your cake for at least 4 hours. This allows the layers to meld together. Enjoy the process; your Cherry Cheesecake Icebox Cake will be a hit!
Tips & Tricks
How to Achieve Perfect Whipped Cream
To get perfect whipped cream, start with cold cream. Cold cream whips better and faster. Use a large bowl to allow air to mix in. Beat the cream until soft peaks form. This takes about 3 to 5 minutes on medium speed. Avoid overbeating, or it will turn into butter. Soft peaks should hold their shape but still look fluffy.
Troubleshooting Common Issues
If your whipped cream doesn't thicken, it may be too warm. Chill your mixing bowl and cream before whipping. If the cake becomes too soft, you might not have chilled it long enough. Always refrigerate the cake for at least 4 hours. If the layers slide apart, try pressing them down gently. This helps the layers stick together.
Presentation Tips for Serving
For a beautiful presentation, use a sharp knife to cut clean slices. Wipe the knife with a damp cloth between cuts. This keeps the edges neat. Garnish with fresh cherries and mint leaves. This adds color and freshness to each slice. Serve the cake on a nice platter for a lovely display.
Pro Tips
- Chill Your Tools: For an even fluffier whipped cream, chill your mixing bowl and beaters in the fridge for about 15 minutes before whipping. This helps the cream whip up faster and holds its shape better.
- Customize Your Flavor: Feel free to add a splash of almond extract or lemon juice to the cream cheese mixture for an extra flavor twist that complements the cherries.
- Layering Technique: Ensure each layer of graham crackers is fully covered with the cream cheese mixture and cherry filling to prevent dry spots and to enhance the overall taste and texture.
- Let It Set: For the best results, let the cake sit overnight in the fridge. This allows the flavors to meld beautifully and makes slicing easier.
Variations
Different Fruit Toppings
You can change the fruit topping to suit your taste. Instead of cherry pie filling, try using blueberries, strawberries, or raspberries. Each fruit adds its own flavor and color. Fresh fruits taste great and add a nice texture to the cake. You can use a mix of fruits for a fun twist. Just make sure the fruit is ripe and sweet for the best results.
Gluten-Free Option
If you need a gluten-free version, swap out the graham crackers. Look for gluten-free graham cracker alternatives or use crushed nuts. Almonds or pecans work well. They add a rich flavor and crunch. Make sure all other ingredients are gluten-free, too. This way, everyone can enjoy your tasty icebox cake.
Vegan Alternatives for the Recipe
To make this recipe vegan, replace the cream cheese with a plant-based option. You can use cashew cream or vegan cream cheese. For the whipped cream, use coconut cream instead of heavy cream. Make sure to choose a powdered sugar that is free from bone char. These swaps will keep the richness of the cake while making it vegan-friendly.
Storage Info
Best Practices for Refrigeration
To keep your Cherry Cheesecake Icebox Cake fresh, store it in the fridge. Use an airtight container or cover it tightly with plastic wrap. This keeps the cake moist and prevents it from absorbing other smells. It's best to place it on a flat surface to avoid any damage.
Freezing Instructions
If you want to save some for later, you can freeze the cake. First, let it cool completely in the fridge. Then, cut it into pieces and wrap each piece in plastic wrap. Put the wrapped pieces in a freezer-safe bag. This way, you can enjoy a slice anytime you crave it.
How Long it Lasts in the Fridge
When stored properly, your Cherry Cheesecake Icebox Cake lasts about 4 to 5 days in the fridge. After that, it may lose taste and texture. If you notice any changes in smell or appearance, it's best to toss it out. Enjoy your delicious dessert while it's fresh!
FAQs
Can I use a different type of cookie instead of graham crackers?
Yes, you can use other cookies. Some good choices are chocolate cookies, vanilla wafers, or even gingersnaps. Each cookie brings its own flavor. Chocolate cookies add a rich taste, while vanilla wafers keep it light. Just crush them the same way you would graham crackers.
How do I make homemade cherry pie filling?
To make cherry pie filling, you need fresh or frozen cherries, sugar, and cornstarch. Start by pitting and halving the cherries. In a pot, mix them with sugar and heat them until they bubble. Add cornstarch mixed with water to thicken the filling. Cook until it’s nice and glossy. Let it cool before using.
What should I do if the cake is too soft?
If your cake turns out too soft, it might need more time in the fridge. Make sure to chill it for at least four hours. If it still seems too soft, you can add more whipped cream next time. This will help the cake hold its shape better.
This blog covered how to create the perfect cake, starting with ingredients. You learned what to use and how to choose fresh options. We also discussed step-by-step instructions for preparation, layering, and mixing. Tips for whipped cream and troubleshooting helped make your cake shine. Variations like fruit toppings and gluten-free options give you choices. Finally, storage tips ensure your cake stays fresh. Remember, practice makes perfect, so enjoy each step of the process as you bake and create!