Ready for a dinner idea that ticks all the boxes? Cheesy Beefy Roll-Ups are not just tasty; they are simple and fun to make! This recipe is perfect for busy families, offering a savory beef dish your kids will love. In this post, I’ll guide you through everything from key ingredients to serving suggestions. Dive in and discover how to create a meal everyone will enjoy!
What Are Cheesy Beefy Roll-Ups and Why Should You Try This Recipe?
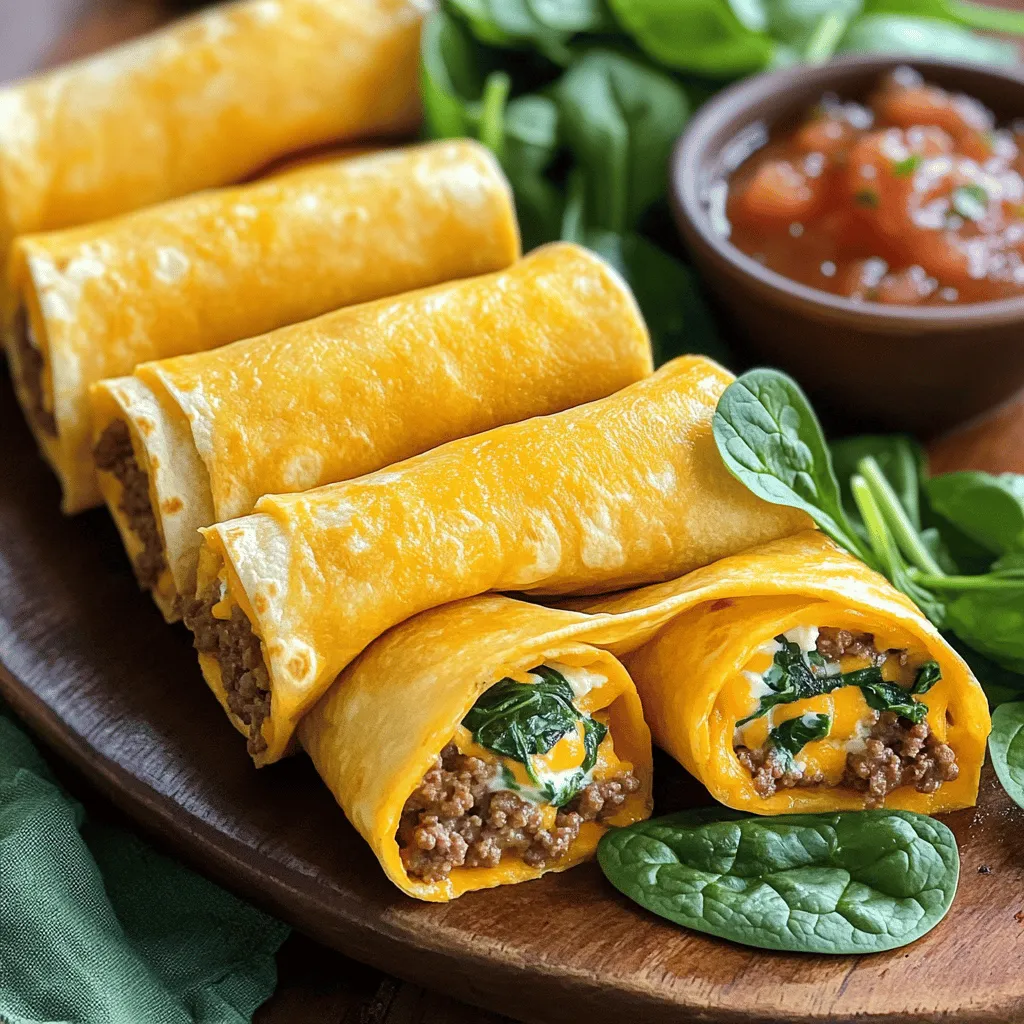
Cheesy beefy roll-ups are tasty wraps filled with beef and cheese. This dish is fun to make and easy to eat. It’s a great choice for family meals. You can serve these roll-ups as a main dish or a savory appetizer.
What Makes This Recipe a Must-Try?
This recipe is perfect for busy days. It takes only 30 minutes to make. You can prepare it ahead of time. Kids love cheesy beefy roll-ups. The creamy cheese and beef flavor win everyone over. They are also very versatile. You can add your favorite veggies to customize them.
What Are the Key Ingredients in Cheesy Beefy Roll-Ups?
The main ingredients in cheesy beefy roll-ups include ground beef, cheddar cheese, and cream cheese. You also need tortillas and some spices. Spinach adds a nice touch and a bit of color. The Worcestershire sauce gives it a savory kick. These ingredients blend well to create a delicious filling.
How Do Cheesy Beefy Roll-Ups Fit into Your Meal Planning?
Cheesy beefy roll-ups fit well into meal planning. They are quick and easy to prepare on a busy night. You can make a big batch and store leftovers. They taste great warm or cold. This dish works well for lunchboxes too. Just slice them into pinwheels for easy eating. Try this cheesy beefy roll-ups recipe for an easy way to please the whole family.
How Do You Prepare Cheesy Beefy Roll-Ups?
To make cheesy beefy roll-ups, start by gathering your ingredients. You will need ground beef, shredded cheddar cheese, cream cheese, chopped spinach, and spices. The blend of flavors in these roll-ups makes them a hit with both kids and adults.
What Are the Steps to Make Cheesy Beefy Roll-Ups?
1. In a skillet, heat olive oil over medium heat.
2. Add ground beef and cook until it turns brown, about 5 to 7 minutes.
3. Drain any grease and mix in garlic powder, onion powder, Worcestershire sauce, salt, and pepper.
4. Stir well and cook for 2 more minutes.
5. Remove the skillet from heat and let the beef mix cool.
6. In a bowl, blend the cooked beef, cream cheese, cheddar cheese, and spinach.
7. Place a tortilla flat on a surface and add about ¼ cup of the beef mix to the center.
8. Roll the tortilla tightly, tucking in the sides.
9. Preheat a non-stick skillet over medium heat and add olive oil to coat.
10. Cook the roll-ups seam-side down until golden brown, about 2 to 3 minutes per side.
11. Cool slightly before slicing or serving whole.
What Cooking Techniques Will Ensure Perfect Roll-Ups?
To get the best roll-ups, use medium heat when cooking the beef. This helps it brown nicely without burning. Make sure to drain the grease to keep the roll-ups from being too oily. When rolling the tortillas, make sure to fold in the sides. This keeps the filling from spilling out during cooking.
How Can You Save Time in Preparing These Roll-Ups?
To save time, prep your ingredients ahead. You can cook the beef and mix it with the cheeses the day before. Store it in the fridge until you are ready to roll. You can also use pre-shredded cheese to cut down on prep time. This way, you can whip up these cheesy beef wraps in no time.
What Variations Can You Try with Cheesy Beefy Roll-Ups?
You can get creative with beef roll-ups. Start by swapping the ground beef for ground turkey or chicken. This change keeps the dish tasty and lighter. You can also add different cheeses. Try mozzarella or pepper jack for a fun twist.
For roll-ups with different fillings, think outside the box. Add sautéed mushrooms or bell peppers for extra flavor. Spinach works well, too, and gives a nice color. You can even use beans for a vegetarian option.
Customizing roll-ups for different occasions is easy. For parties, make mini roll-ups using smaller tortillas. They are perfect finger foods. Serve them with various dips like guacamole or ranch dressing.
You can explore unique flavor combinations to surprise your guests. Try adding taco seasoning for a Mexican flair. Or, mix in some barbecue sauce for a smoky taste. Combining beef with fresh herbs, like basil or cilantro, can brighten the dish.
With these ideas, you can change up your cheesy beefy roll-ups. Each variation can feel like a brand new meal.
What Are the Best Serving Suggestions for Cheesy Beefy Roll-Ups?
Cheesy Beefy Roll-Ups are great for any meal. They work well for family dinners or parties. You can serve them with a side salad for a fresh touch. A simple green salad pairs nicely with these roll-ups. Add some cherry tomatoes and cucumbers for color. You can also include a fruit platter to add sweetness.
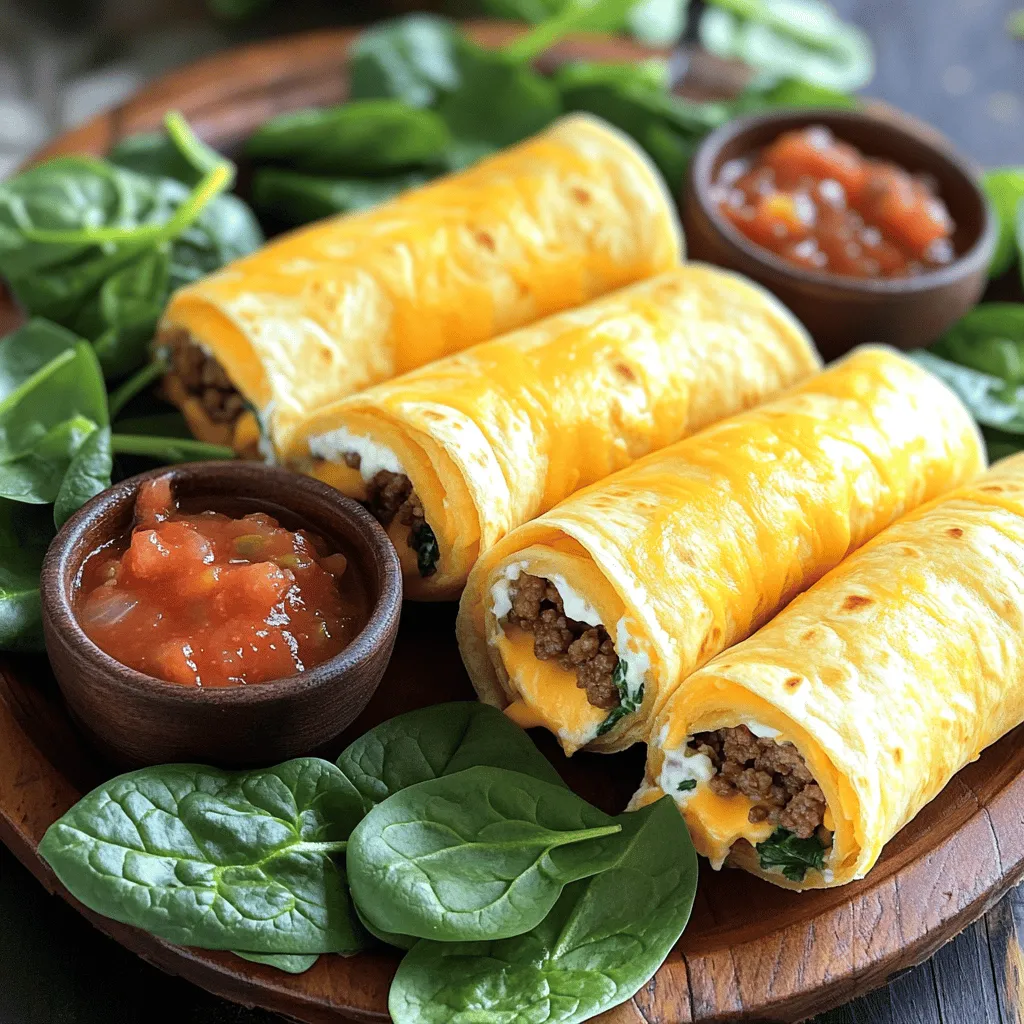
When having guests, make a fun platter. Arrange the roll-ups in a circle. Place a bowl of salsa or sour cream in the center. This makes a great centerpiece for your table. A sprinkle of fresh herbs like parsley adds color and flair.
Dipping sauces elevate the flavor. The best choices include salsa, ranch, or guacamole. You can also try a spicy chipotle sauce. These flavorful dips bring a kick to each bite.
For parties, consider mini roll-ups. Cut them into bite-sized pieces. This way, guests can easily enjoy them. They make perfect finger food and are sure to impress.Enjoy serving these cheesy beef snacks at your next gathering!
How Can You Make Cheesy Beefy Roll-Ups Healthier?
To make cheesy beefy roll-ups healthier, you can swap some ingredients. Use leaner ground beef, like 90% lean. This change cuts down on fat. You can also use low-fat cream cheese. It keeps the creamy texture while lowering calories. Whole wheat tortillas add fiber and nutrients. These swaps help you enjoy cheesy roll-ups with less guilt.
Portion control is key for a healthy meal. Instead of eating a large roll-up, slice them into smaller pinwheels. This way, you can enjoy more pieces without overdoing it. It also helps you share with family and friends. Smaller bites can make you feel satisfied without eating too much.
Adding vegetables boosts the health of your roll-ups. Spinach is a great choice, as it hides in the mix. You can also try bell peppers or mushrooms. These veggies add color and crunch. They also provide vitamins and minerals. More veggies mean a more balanced meal. You can enjoy cheesy snacks for gatherings while making them healthier.
How Can You Store and Reheat Cheesy Beefy Roll-Ups?
Storing leftover roll-ups is simple. First, let the roll-ups cool to room temperature. Then, place them in an airtight container. You can keep them in the fridge for up to three days. If you want to store them for longer, freeze them. Wrap each roll-up in plastic wrap before placing them in a freezer bag. They can last for about three months in the freezer.
To reheat cheesy beefy roll-ups, I recommend using the oven or a skillet. If you use the oven, preheat it to 350°F. Place the roll-ups on a baking sheet and cover them with foil. Heat for about 15-20 minutes. This method keeps them warm and crispy. If you prefer the skillet, heat a small amount of oil over medium heat. Cook for about 3-5 minutes on each side until warmed through.
To ensure your roll-ups stay delicious after storage, avoid overcooking them the first time. Cook them just until golden brown. Also, keep them in the right containers. Use airtight containers to keep out moisture and air. If freezing, make sure to wrap them tightly. This way, they won’t dry out or get freezer burn.
Cheesy beefy roll-ups offer a fun and tasty way to enjoy beef. This recipe is simple and perfect for family meals or parties. You can customize the flavors, swap ingredients, and even make them healthier. Remember to store leftovers right to keep them fresh. These roll-ups are sure to please anyone and fit into busy meal plans. Try this recipe today for an easy, tasty treat that everyone will love. You won’t regret it!