Introduction
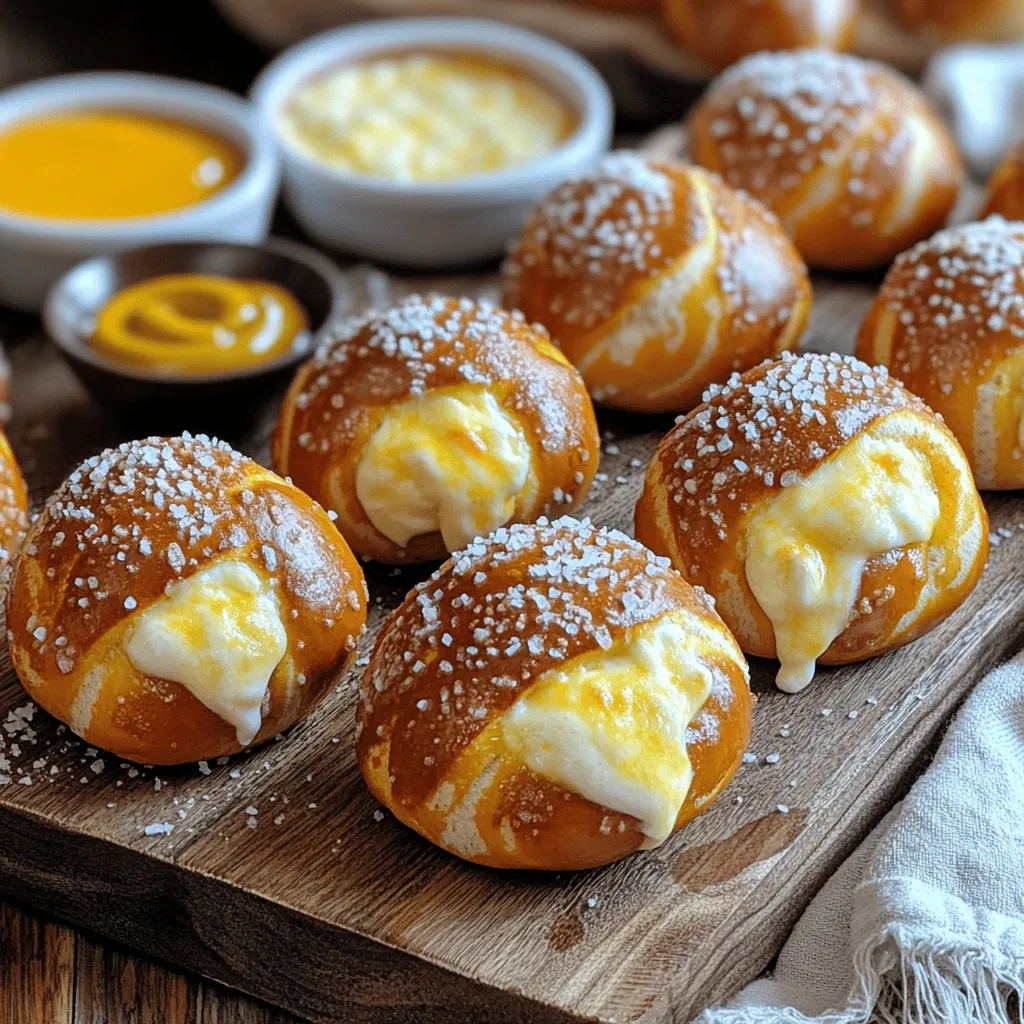
Pretzel bombs have taken the culinary world by storm, captivating snack enthusiasts with their delightful combination of fluffy dough and gooey fillings. These bite-sized wonders are perfect for gatherings, game days, or simply an indulgent treat at home. Among the many variations, cheese stuffed pretzel bombs stand out as a crowd-pleaser, offering a rich, savory filling that pairs exquisitely with the warm, soft exterior of the pretzel.
The allure of cheese stuffed pretzel bombs lies not just in their taste, but also in their ability to bring people together. Homemade snacks have a unique charm that store-bought options simply cannot replicate. When you prepare these pretzel bombs in your kitchen, you create memorable experiences for friends and family, fostering connections over shared food. Whether you’re hosting a party or enjoying a cozy night in, these pretzel bombs are sure to be a hit.
Understanding the Ingredients
Creating the perfect cheese stuffed pretzel bomb starts with understanding the ingredients at play. Each component contributes to the overall flavor, texture, and experience of this delightful snack. Let’s take a closer look at the key ingredients that make these pretzel bombs exceptional.
Warm Water
Warm water plays a crucial role in activating the yeast, which is essential for dough rising. The ideal temperature for warm water is typically between 100°F to 110°F. This temperature range creates an optimal environment for yeast to thrive, enabling it to produce carbon dioxide and make the dough rise. Using water that’s too hot can kill the yeast, while water that’s too cool won’t activate it properly.
Sugar
Sugar is another vital ingredient in this recipe. It not only adds a hint of sweetness but also serves as food for the yeast during fermentation. When the yeast consumes the sugar, it produces carbon dioxide, which helps the dough rise and contributes to the flavor profile of the pretzel bombs. A small amount of sugar encourages the yeast to work efficiently, resulting in a light and airy texture.
Active Dry Yeast
Active dry yeast is a key player in creating fluffy pretzel bombs. This leavening agent is responsible for the dough’s rise, creating the light and soft interior that complements the savory cheese filling. When mixed with warm water and sugar, the yeast becomes activated, starting the fermentation process. It’s important to ensure that your yeast is fresh for optimal results.
All-Purpose Flour
All-purpose flour is the preferred choice for pretzel dough due to its balance of protein content. The protein in flour contributes to gluten development, which gives the dough its structure and chewiness. For pretzel bombs, a strong gluten network is essential to hold the cheese filling securely, ensuring that each bite is a delightful combination of textures.
Baking Soda
Baking soda is a unique ingredient in pretzel making. It’s used to create an alkaline solution that gives pretzels their characteristic flavor and texture. When the pretzel bombs are boiled in a baking soda solution before baking, it enhances the Maillard reaction, resulting in a deep, golden-brown exterior. This step is crucial in achieving that traditional pretzel taste.
Salt
Salt is an essential component in the dough, enhancing the overall flavor of the pretzel bombs. It balances the sweetness from the sugar and elevates the savory notes of the cheese filling. Additionally, salt strengthens the gluten structure in the dough, contributing to the chewiness that pretzel enthusiasts love.
Butter
Butter adds richness and enhances the flavor of the pretzel dough. Incorporating melted butter into the mixture provides a delightful depth of flavor and helps achieve a tender texture. The addition of butter also contributes to the overall indulgence of the cheese stuffed pretzel bombs, making them even more irresistible.
Mozzarella Cheese
The choice of cheese is pivotal in creating the perfect filling for pretzel bombs. Mozzarella cheese is an excellent option because of its mild flavor and exceptional meltability. When baked, mozzarella becomes wonderfully gooey, providing that satisfying stretch that makes cheese stuffed pretzel bombs so enjoyable. Additionally, its neutral flavor allows the other ingredients to shine through.
Egg Wash
Applying an egg wash before baking is essential for achieving that beautiful golden color on the pretzel bombs. The egg wash creates a glossy finish, making the pretzel bombs visually appealing. It also helps the coarse sea salt adhere to the surface, adding an extra touch of flavor.
Coarse Sea Salt
Finally, a sprinkle of coarse sea salt on top of the pretzel bombs provides the finishing touch. Not only does it enhance the overall flavor, but it also adds a delightful contrast to the soft dough. The saltiness pairs perfectly with the rich cheese filling, making each bite a harmonious blend of flavors.
Step-by-Step Guide to Making Cheese Stuffed Pretzel Bombs
Now that you understand the essential ingredients, it’s time to dive into the step-by-step process of making cheese stuffed pretzel bombs. This recipe is straightforward and rewarding, making it perfect for both novice and experienced home cooks.
Preparing the Dough
1. Mixing Warm Water and Sugar to Activate Yeast: Begin by pouring warm water into a mixing bowl. Add a teaspoon of sugar to the water and stir gently to dissolve. Then, sprinkle the active dry yeast over the water’s surface. Allow the mixture to sit for about 5 to 10 minutes, or until it becomes frothy. This indicates that the yeast is active and ready to work its magic.
2. Combining Flour and Salt for the Dry Mix: In a separate bowl, combine the all-purpose flour and salt. Mixing these dry ingredients together ensures that the salt is evenly distributed throughout the dough, which is essential for flavor.
3. Incorporating the Yeast Mixture and Butter to Form the Dough: Once the yeast mixture is frothy, pour it into the bowl with the flour and salt. Add melted butter to the mixture, and stir using a wooden spoon or spatula until the dough starts to come together. The dough will be slightly sticky at this stage.
4. Kneading Techniques for Achieving the Right Consistency: Transfer the dough to a floured surface and begin kneading. Use the heel of your hand to push the dough away from you, fold it over, and turn it a quarter turn. Repeat this process for about 8 to 10 minutes until the dough is smooth and elastic. If the dough is too sticky, sprinkle a little more flour as needed, but be cautious not to add too much.
5. Allowing the Dough to Rise: Once the dough is kneaded, shape it into a ball and place it in a lightly greased bowl. Cover the bowl with a clean kitchen towel or plastic wrap to create a warm environment for rising. The dough should be allowed to rise for about 1 hour, or until it doubles in size. This step is crucial for developing the texture of the pretzel bombs.
By following these initial steps, you will set the foundation for creating delicious cheese stuffed pretzel bombs that are sure to impress. Stay tuned for the next part of the guide, where we will explore how to shape, fill, and bake these delightful snacks that everyone will love.
Signs that the Dough Has Doubled in Size
One of the key indicators that your dough has successfully risen is its size. When the dough doubles, it becomes visibly puffy and airy. To check for this, gently press your finger into the dough; if the indentation remains, it’s a sign that your dough is well-proofed and ready for the next step. The ideal temperature for rising is a warm, draft-free area. If your kitchen is cool, you might consider placing the dough in an oven that is turned off but has the light on, creating a cozy environment for it to rise.
Shaping the Pretzel Bombs
Once your dough has risen, it’s time to shape the pretzel bombs. First, you’ll want to turn the dough out onto a lightly floured surface. Gently knead it for a minute to release any air bubbles. Next, divide the dough into equal portions for uniformity. This helps ensure that each pretzel bomb cooks evenly, giving you that perfect golden-brown finish.
Dividing the Dough into Equal Portions for Uniformity
Using a bench scraper or a sharp knife, cut the dough into pieces weighing about 2 ounces each. This will yield approximately 12-15 pretzel bombs, depending on how large you want them. Once you’ve divided the dough, roll each piece into a ball by cupping your hand over it and moving in a circular motion. The goal is to create smooth, round balls that will hold the cheese filling without any leaks.
Techniques for Flattening and Stuffing Each Portion with Cheese
To fill your pretzel bombs with cheese, flatten each dough ball into a disc about 3 inches wide. You can do this by pressing it down with your fingers or using a rolling pin for a more uniform shape. Place a small cube or tablespoon of cheese in the center of the disc. Good options for cheese include mozzarella for its excellent melting qualities, cheddar for a sharp flavor, or a blend for a more complex taste.
Sealing the Pretzel Bombs to Prevent Cheese Leakage
Once you have added the cheese, it’s crucial to seal the pretzel bombs properly to prevent any cheese from leaking out during cooking. To do this, gather the edges of the dough up and over the cheese filling. Pinch the edges together firmly to create a tight seal. Roll the filled dough ball gently between your hands to smooth it out once more. This step is essential for ensuring the cheesy goodness stays inside as they bake.
Boiling the Pretzel Bombs
Before baking, pretzel bombs undergo a crucial step: boiling. This process is what gives pretzels their signature chewy texture.
Explanation of the Lye Solution and Its Significance in Pretzel-Making
Traditionally, pretzels are boiled in a lye solution, which gives them that unique flavor and dark brown color. However, for home cooks, a safer alternative is to use a baking soda solution. The alkalinity of the baking soda helps achieve a similar effect. For this recipe, dissolve ½ cup of baking soda in a large pot of water, and bring it to a gentle simmer.
Steps for Boiling and the Timing for Optimal Texture
Carefully drop the pretzel bombs into the boiling solution, ensuring not to overcrowd the pot. Boil each batch for about 30 seconds, turning them halfway to ensure even cooking. Use a slotted spoon to remove them from the pot, allowing excess water to drain off. This step is essential for developing the chewy crust that characterizes a good pretzel.
Baking to Perfection
Now that your pretzel bombs are boiled, they’re ready to bake.
Preparing the Baking Sheet and Preheating the Oven
Preheat your oven to 425°F (220°C) and line a baking sheet with parchment paper. This prevents the pretzel bombs from sticking and makes cleanup a breeze.
Applying the Egg Wash and Sprinkling Sea Salt
To achieve that glossy, golden-brown finish, whisk one egg with a tablespoon of water to create an egg wash. Brush the tops of each pretzel bomb with the egg wash to give them a beautiful sheen. Finally, sprinkle sea salt generously over the tops. This adds flavor and enhances the pretzel experience.
Baking Time and Temperature for Achieving Golden Brown Results
Place the baking sheet in the preheated oven and bake for 12-15 minutes or until the pretzel bombs are golden brown and puffed. Keep an eye on them, as oven temperatures can vary. Once baked, remove them from the oven and let cool slightly on a wire rack.
Serving Suggestions
Once your cheese stuffed pretzel bombs are out of the oven, it’s time to serve them up!
Presentation Ideas for Serving Pretzel Bombs
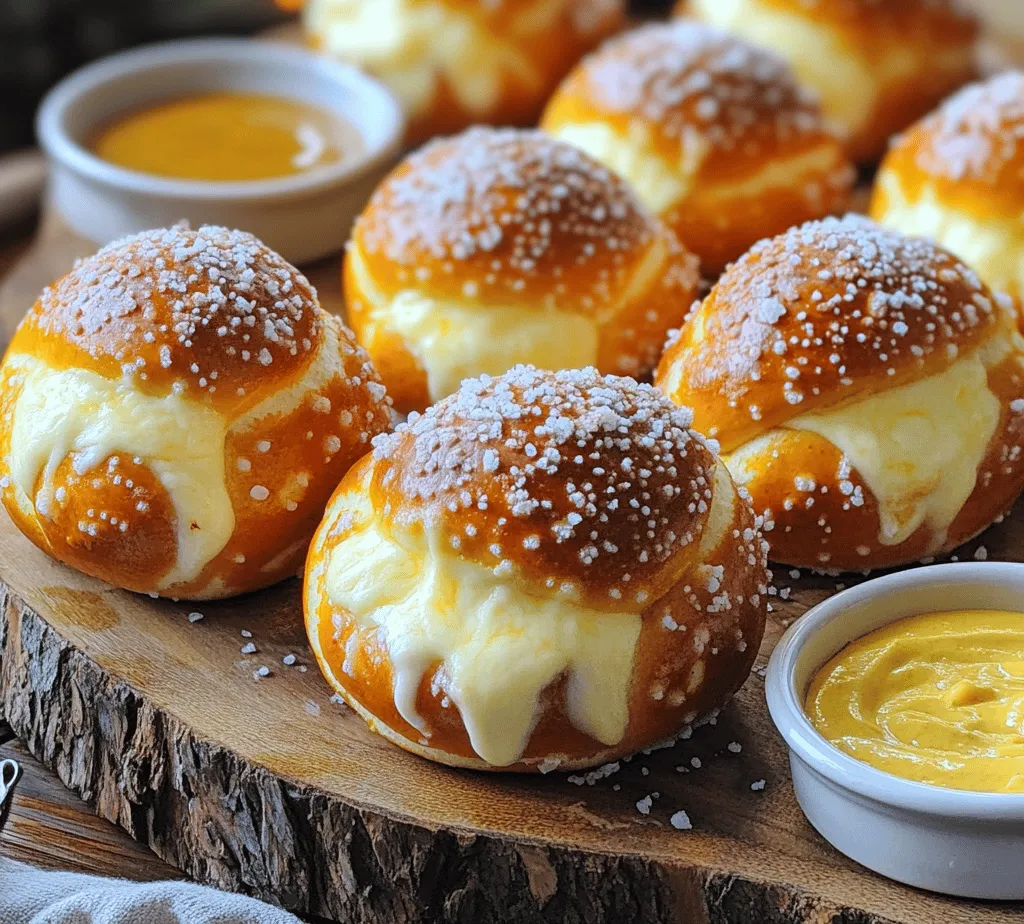
For an impressive presentation, arrange the pretzel bombs on a large wooden serving board. This rustic look is perfect for parties and gatherings. You can also garnish the board with fresh herbs or sliced veggies for a pop of color.
Pairing with Spicy Mustard or Cheese Dip
These pretzel bombs are delicious on their own, but they shine when served with dips. Pair them with spicy mustard for a tangy kick or a creamy cheese dip for an indulgent treat. Both options complement the cheesy flavor of the pretzel bombs beautifully.
Creative Serving Variations
For a fun twist, consider adding different flavor profiles to your pretzel bombs. You can use herb-infused cheeses or incorporate spices like garlic powder or paprika into the dough for added flavor.
Suggestions for Different Cheese Blends
Experiment with various cheese blends for your filling. Try a mix of mozzarella and pepper jack for a spicy kick or a combination of goat cheese and feta for a creamy, tangy filling. The possibilities are endless, and you can customize the flavors to suit your preferences.
Ideas for Flavored Dips to Complement the Pretzel Bombs
Aside from mustard and cheese dip, consider serving your pretzel bombs with a honey mustard dip, ranch dressing, or even a sweet chili sauce. These dips enhance the overall flavor experience and provide a delightful contrast to the warm, cheesy pretzel.
Nutritional Information
Understanding the nutritional value of your food is important, especially for indulgent treats like cheese stuffed pretzel bombs.
Overview of Nutritional Value per Serving
Each pretzel bomb contains approximately 180 calories, depending on the specific cheese used and the size of the bombs. They provide a good source of carbohydrates, protein from the cheese, and some fats.
Discussion on Portion Control and Indulgence in Moderation
While these pretzel bombs are a delicious treat, it’s important to enjoy them in moderation. Consider serving them as an appetizer or sharing them with friends to keep portion sizes in check. Balancing indulgent snacks with healthier options can help create a well-rounded meal.
Conclusion
Making cheese stuffed pretzel bombs at home is not only a fun culinary project but also a rewarding experience that results in a delightful snack or appetizer. The joy of watching the dough rise, shaping the pretzel bombs, and finally biting into that gooey cheese filling is unmatched. This recipe is incredibly versatile, allowing you to customize flavors and fillings to suit any occasion or personal preference.
Encouraging you to experiment with different cheeses and accompanying dips can lead to new favorite combinations that delight your taste buds. Whether for a party, game day, or a cozy night in, cheese stuffed pretzel bombs are sure to impress your friends and family. So roll up your sleeves, gather your ingredients, and start creating these mouthwatering treats to share with your loved ones!