- Chocolate Caramel Pecan Turtle Clusters Recipe
- Irresistible Banana Pudding Cupcakes: A Delightful Twist on a Classic Dessert
- Peanut Butter Cup Delights: An Irresistible Cookie Recipe
- Buckeye Brownie Bites: A Delightful Dessert Combining Chocolate and Peanut Butter
- Delicious Chocolate Peanut Butter Cookie Cups: A Sweet Indulgence
- Zesty Lemon Bar Cookie Cups: A Refreshing Delight for Your Sweet Tooth
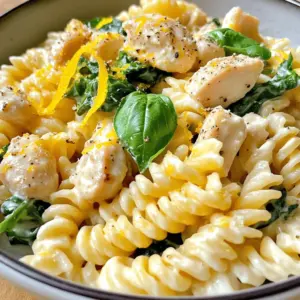
- Creamy Ricotta Chicken Pasta Recipe
- Apple Crisp Bites Recipe: A Delicious Fall Treat
- Snickerdoodle Cookie Cups: A Delicious Twist on a Classic Favorite
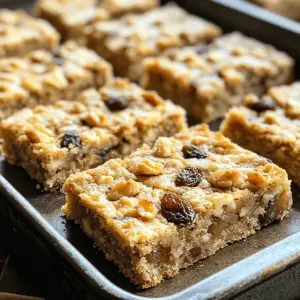
- Chewy Oatmeal Raisin Cookie Bars: The Allure of a Classic Treat
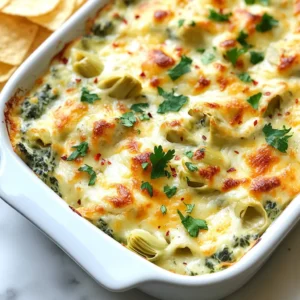
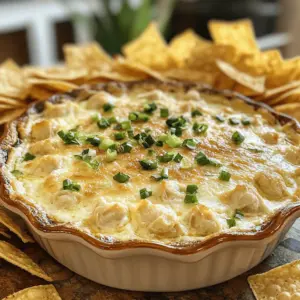
- Cheesy Spinach Artichoke Dip Flavorful Party Treat
- Rotisserie Chicken Salad Croissant Sandwiches Delight
- Ground Turkey Vegetable Soup Easy and Flavorful Recipe
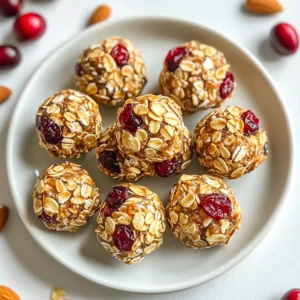
- Cranberry Almond Energy Bites Nutritious Snack Option
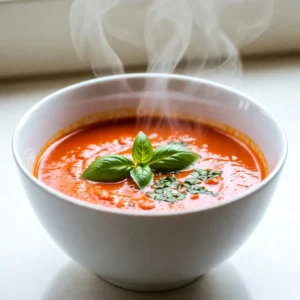
- Winter Tomato Soup Comforting and Flavorful Bowl
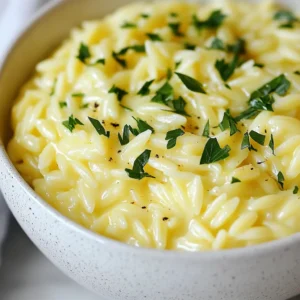
- Creamy Lemon Boursin Orzo Comforting and Flavorful Dish
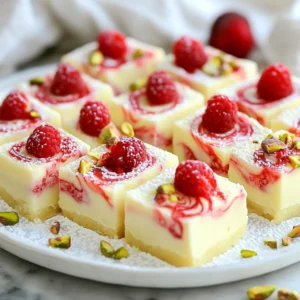
- White Chocolate Raspberry Fudge Delightful and Easy
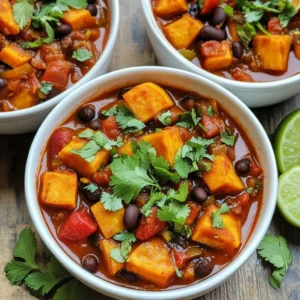
- Vegan Sweet Potato Black Bean Chili Flavor Boost
- Buffalo Chicken Burritos Flavorful and Easy Recipe
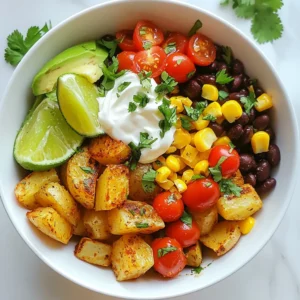
- Loaded Potato Taco Bowl Flavorful and Easy Recipe
- Thai Red Curry Noodle Soup Delight: A Flavorful Journey into Thai Cuisine
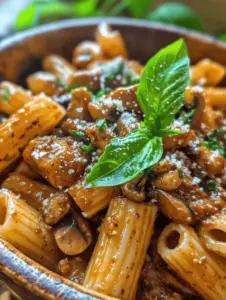
- Rigatoni with Vegan Walnut Mushroom Meat Sauce
- Cinnamon Roll Apple Pie Cups: A Delicious and Easy Dessert Recipe
- Caramel Macchiato Cupcakes Delightful Treat Recipe
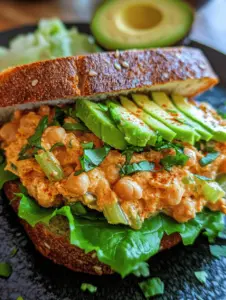
- Vegan Spicy Chickpea Tuna Salad Sandwiches: A Delicious Plant-Based Alternative
- Hot Honey Chicken Bowls: A Flavorful Culinary Adventure
- Pastrami & Sauerkraut Rolls Recipe: A Comfort Food Classic
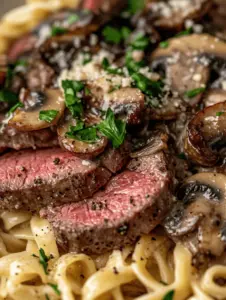
- Creamy Beef Stroganoff Delight: A Comfort Food Classic
- Slow-Cooked Philly Delight: An Irresistible Comfort Food Recipe
- Cozy Hot Chocolate Marshmallow Cookies Recipe
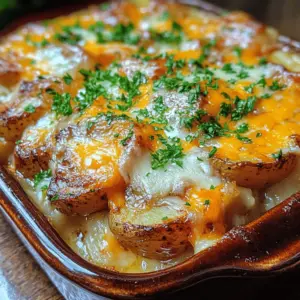
- Delmonico Potatoes Delight Recipe
- Strawberry Bliss Bites: A Delightful Cheesecake Treat
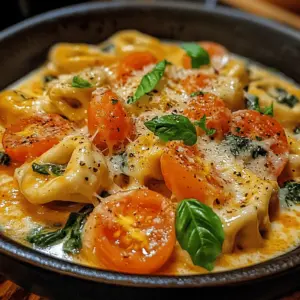
- Marry Me Tortellini: A Creamy, Romantic Pasta Dish
- Cheesy Slow Cooker Rotel Dip with a Kick: A Comfort Food Delight
- Toasted Ham & Cheese Tortilla Pockets Recipe
- Savory Ground Beef Gyros: A Flavorful Journey of Mediterranean Delight
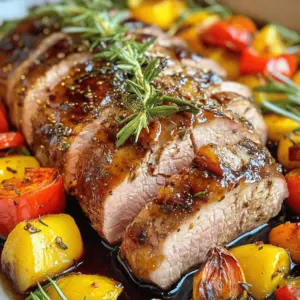
- Sweet and Savory Honey Balsamic Pork Tenderloin
- Cinnamon Roll French Toast Rolls: A Delicious Fusion of Flavors
- Tortilla Pizzas Delight: A Quick and Flavorful Twist on Tradition
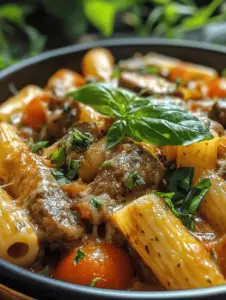
- Creamy Sausage Rigatoni with Spinach & Tomatoes: A Delightful Culinary Experience
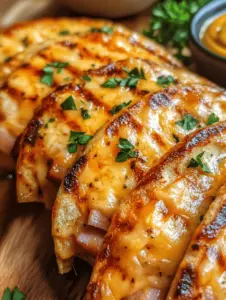
- Savory Garlic Parmesan Chicken Skewers: A Deliciously Simple Recipe
- Creamy Crab Rangoon Dip: A Delightful Appetizer for Any Gathering