- High Protein Chicken Zucchini Bake Simple Recipe
- Herb Roasted Sweet Potato Wedges Flavorful and Easy
- Creamy Roasted Red Pepper Soup Flavorful and Comforting
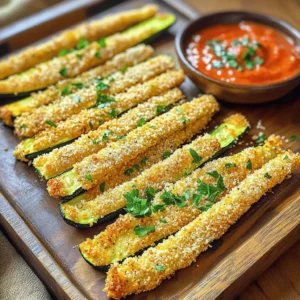
- Crispy Garlic Parmesan Zucchini Fries Delightful Snack
- Cilantro Lime Shrimp Tacos Flavorful and Fresh Meal
- Pesto Chicken Caprese Flatbread Tasty and Easy Meal
- Peach Raspberry Sorbet Refreshing Summer Treat
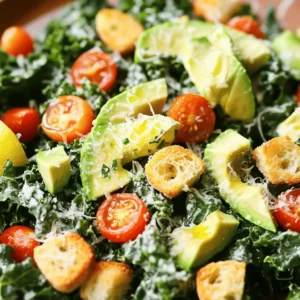
- Avocado Kale Caesar Salad Fresh and Flavorful Delight
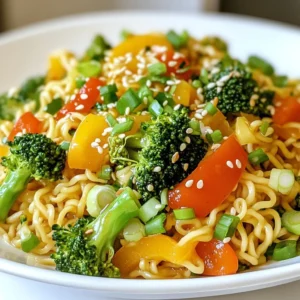
- Spicy Sriracha Ramen Stir-Fry Flavorful and Fast Meal
- Raspberry Lemonade Bars Refreshing Summer Treat
- Chocolate Dipped Strawberry Popsicles Simple Delight
- Bang Bang Cauliflower Tacos Tasty and Crunchy Treat
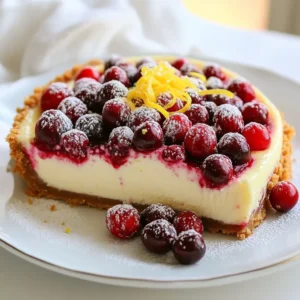
- Creamy Cranberry Cheesecake Delightfully Simple Treat
- Chicken Alfredo Stuffed Zucchini Boats Tasty Meal
- Roasted Garlic Mashed Cauliflower Creamy Delight
- BBQ Ranch Chicken Salad Tasty and Fresh Delight
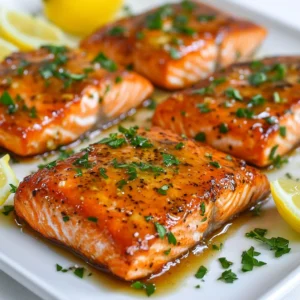
- Maple Dijon Glazed Salmon Savory and Hearty Dish
- Buttermilk Fried Chicken Tenders with Honey Mustard Dip
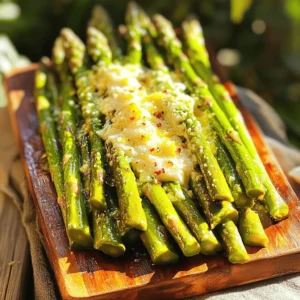
- Garlic Parmesan Air Fryer Asparagus Simple Delight
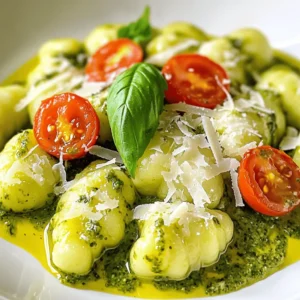
- Creamy Pesto Gnocchi Delight Simple and Flavorful Meal
- Blueberry Lemon Yogurt Muffins Fast and Tasty Recipe
- Hungarian Goulash Hearty and Flavorful Classic Stew
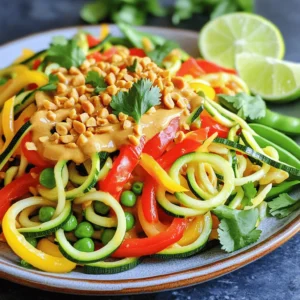
- Thai Peanut Zoodle Stir Fry Flavorful and Quick Meal
- Creamy Tomato Basil Tortellini Soup Simple Delight
- Buffalo Cauliflower Tacos Packed with Flavor and Crunch
- Cinnamon Roll Mug Cake Quick and Easy Treat
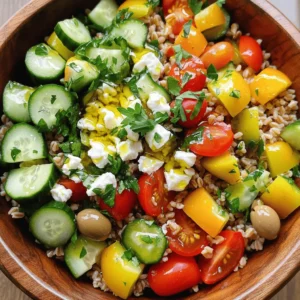
- Mediterranean Farro Bowl Fresh and Flavorful Meal
- Turmeric Golden Milk Latte Simple and Creamy Recipe
- Jalapeño Popper Stuffed Chicken Flavorful Dinner Delight
- Pumpkin Spice Energy Balls Tasty Snack Delight
- Spicy Thai Basil Chicken Flavorful and Easy Recipe
- Mexican Chorizo Empanadas Flavorful and Simple Recipe
- Crispy Air Fryer Cauliflower Bites Bursting with Flavor
- Mexican Street Corn Dip Flavorful and Easy Recipe
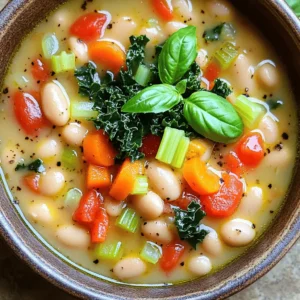
- Tuscan White Bean Soup Simple and Flavorful Recipe
- Almond Joy Energy Balls Tasty and Nutritious Snack
- Cheddar Jalapeño Cornbread Tasty and Easy Recipe
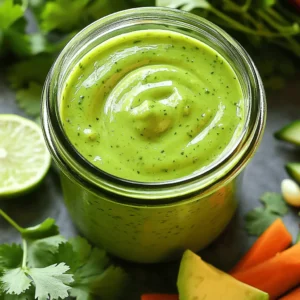
- Avocado Cilantro Lime Dressing Simple and Fresh Flavor
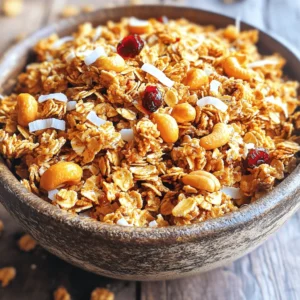
- Coconut Cashew Granola Quick and Simple Recipe
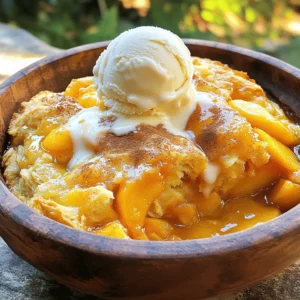
- Peach Cobbler Dump Cake Simple and Tasty Dessert
- Sweet and Spicy Honey Chicken Delightful Easy Recipe
- Sweet & Spicy Korean Chicken Flavorful and Easy Recipe