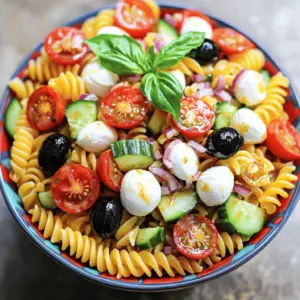
- Best Italian Pasta Salad Simple and Tasty Recipe
- Classic Cobb Salad Fresh and Delicious Recipe Ideas
- Cranberry Jalapeño Dip Perfect For Any Celebration
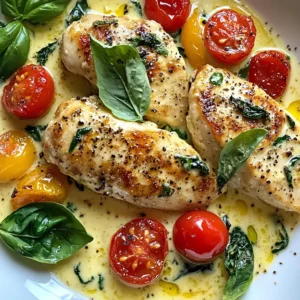
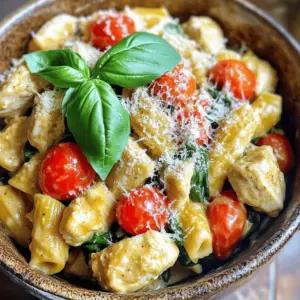
- One Pot Creamy Tuscan Chicken Flavorful Weeknight Meal
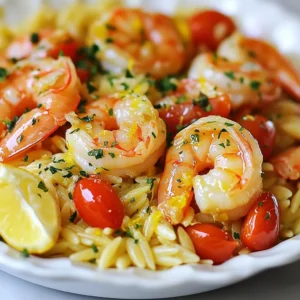
- One-Pan Lemon Garlic Shrimp Orzo Flavorful Delight
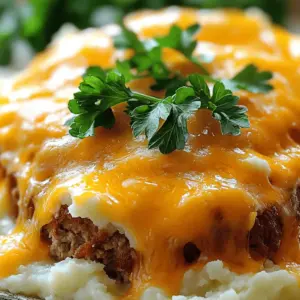
- Mashed Potato Meatloaf Casserole Hearty Comfort Dish
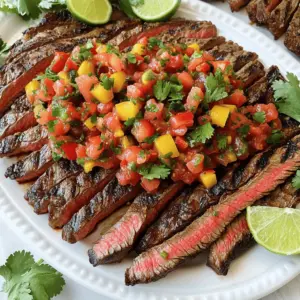
- Grilled Flank Steak with Tomato Pepper Salsa Delight
- Old Fashioned Buttermilk Biscuits Flaky and Tasty
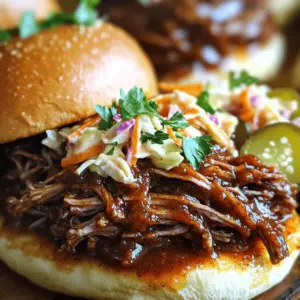
- Crockpot Pulled Pork Flavorful and Easy Recipe Guide
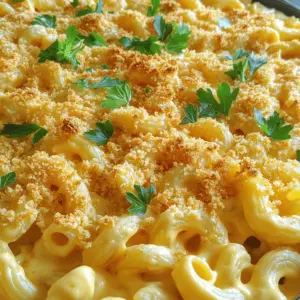
- Easy Baked Macaroni and Cheese Creamy Comfort Food
- Easy Homemade Hamburger Helper Quick and Simple Meal
- Lemon Garlic Tuna Cakes Flavorful and Easy Recipe
- Cauliflower Fried Rice Flavorful and Simple Recipe
- Best Instant Pot Chili Recipe for Flavorful Meals
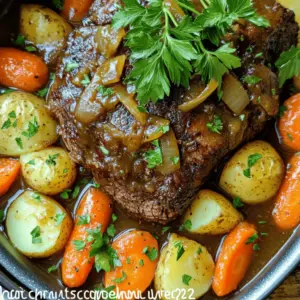
- Savory Instant Pot Pot Roast Easy Cooking Guide
- Savory Instant Pot Tuscan Chicken Pasta Recipe
- Instant Pot Mac and Cheese Creamy and Quick Recipe
- Chili Queso Dip Creamy and Flavorful Party Snack
- Easy Lemon Cake Delightful and Simple Recipe Guide
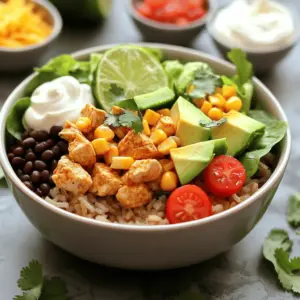
- Flavorful Burrito Bowls with Chicken Easy to Enjoy
- Rich and Velvety Beef Pasta in Your Slow Cooker
- Savory Swedish Meatball Bliss for Cozy Comfort Meals
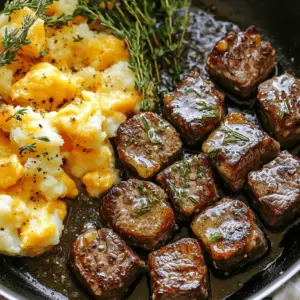
- Savory Garlic Butter Steak Bites with Crispy Cheddar Potatoes
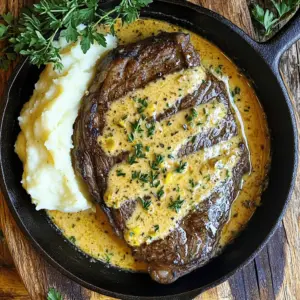
- Cast Iron Bavette Steak with Whiskey Garlic Cream Sauce Recipe
- Simple Homemade Roti John Easy and Tasty Recipe
- Quick and Creamy Mushroom Soup Without Dairy Delight
- Cheesy Garlic Chicken Wraps Recipe Quick and Tasty Meal
- Philly Cheesesteak Stuffed Cheesy Breadsticks Delight
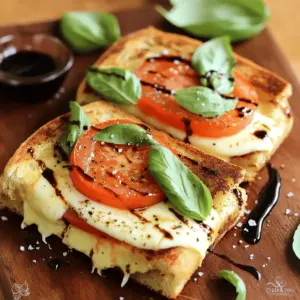
- Delicious Caprese Panini with Fresh Mozzarella Recipe
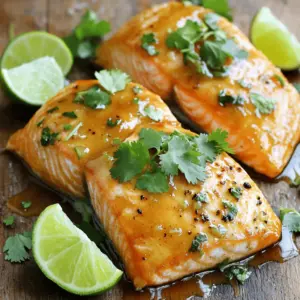
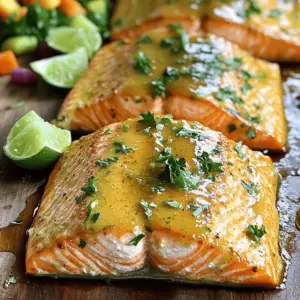
- Honey-Lime Garlic Butter Baked Salmon Recipe Delight
- Savory Steak Frites Recipe Simple and Delicious Meal
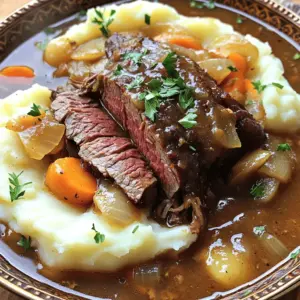
- Pot Roast over Mashed Potatoes Savory Comfort Meal
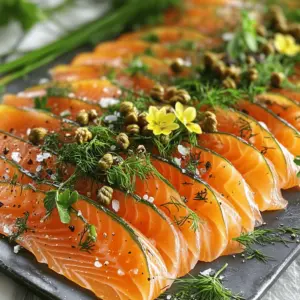
- Smoked Salmon Carpaccio with Fried Capers Delight
- Irresistible Cheese and Pepperoni Stromboli Delight Recipe
- Irresistible Garlic Parmesan Cheeseburger Bombs Recipe
- Honey-Lime Garlic Butter Baked Salmon Flavorful Dish
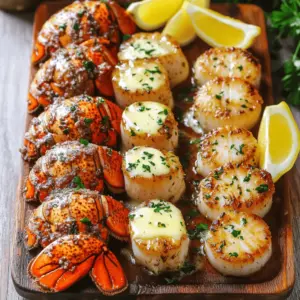
- Garlic Butter Lobster Tail & Scallops Feast Delight
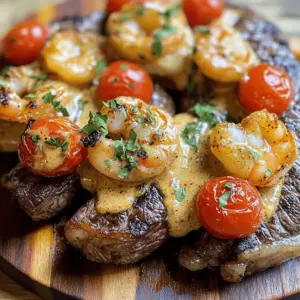
- Steak with Creamy Cajun Shrimp Sauce Flavorful Delight
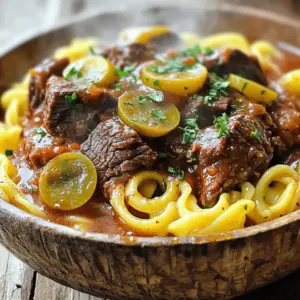
- Savory Mississippi Beef Noodles Recipe That Delights
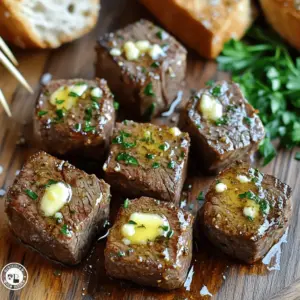
- Irresistible Garlic Butter Steak Bites Recipe Delight
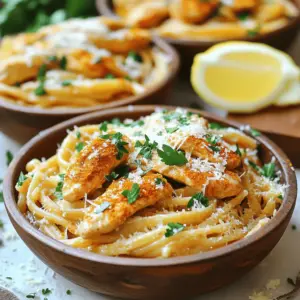
- Creamy Cowboy Butter Chicken Linguine Simple Delight
- Cheesy Chicken Crescent Rolls Simple and Tasty Dish