- Air Fryer Parmesan Zucchini Chips Crispy and Healthy Snack
- Taco Ranch Bites Savory Appetizer for Gatherings
- Delicious Cheesy Garlic Bombs Recipe for Easy Snacking
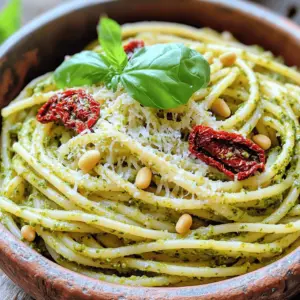
- Sun Dried Tomatoes Delightful Recipes for Every Meal
- Vanilla Cream Tarts with Fresh Raspberries Delight
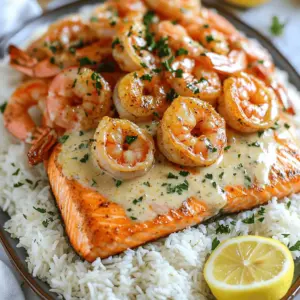
- Cajun Shrimp & Salmon with Garlic Cream Spicy Delight
- Snack Time Just Got Spicy with Bacon-Wrapped Mozzarella
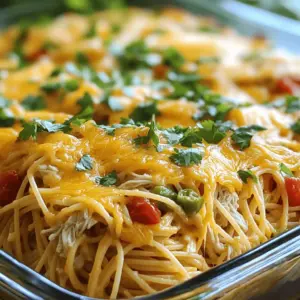
- Cracked Out Chicken Tater Tot Casserole Delight
- One-Pan Garlic Parmesan Chicken and Potatoes Recipe
- Comforting Cabbage and Ground Beef Casserole Recipe
- Low-Carb Cabbage and Beef Stir Fry Simple Recipe
- Monterey Chicken Spaghetti Bake Savory and Simple Dish
- Chopped Cheese Sandwich Delight in Every Bite
- Tanghulu Chinese Candied Fruit Fun and Flavorful Guide
- Crispy Herb Smashed Potato Salad Flavorful Side Dish
- Le Crookie - Viral Cookie Croissant Recipe Delight
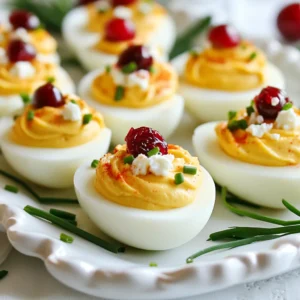
- Cranberry Deviled Eggs Savory Party Treat
- Fondant Potatoes Delightful Recipe for Home Chefs
- Bacon Cheddar Ranch Pinwheels Tasty Snack Idea
- Instant Pot Mac & Cheese That Will Delight Everyone
- Ramen Noodle Stir Fry Flavor-Packed and Easy Meal
- Pancake Mini Muffins Delightful and Easy to Make
- Crock Pot Mac & Cheese Simple and Creamy Recipe
- Irresistible Cake Mix Brownies Simple and Quick Recipe
- Mini Banana Muffins Easy and Tasty Snack Recipe
- Christmas Crack Recipe Irresistible Holiday Treat
- Monster Cookie Protein Balls Delicious and Easy Recipe
- Healthy Chocolate Mini Muffins Simple and Tasty Recipe
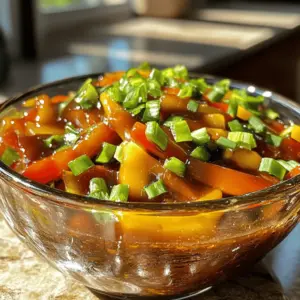
- Stir Fry Sauce Simple Recipe for Flavorful Meals
- No Bake Peanut Butter Pie Creamy and Simple Delight
- Sweet Potato Casserole with Marshmallows Delight
- Queso Blanco Delightful Recipes to Try Today
- Taco Tortellini Simple One-Pot Pasta Delight
- The Best Baked Beans Flavorful and Easy Recipes
- Baked Salmon in Foil with Asparagus Simple Dinner
- Chicken Patties Easy Chicken Cakes Quick and Tasty Meal
- Cake Mix Donuts Delicious and Simple Recipe Guide
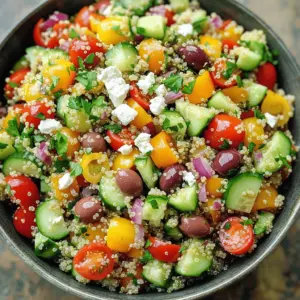
- Greek Quinoa Chopped Salad Fresh and Flavorful Dish
- Savory Coq au Vin Pot Pie for Cozy Nights
- Lemon Chess Pie Delight Easy and Tasty Recipe
- Creamy Coconut Curry Lentil Soup Flavorful Comfort Food
- Copycat Rubio's Pinto Beans Flavorful Home Recipe