- Sparkling Lavender Lemonade Refreshing Summer Drink
- Peach Lemonade Slush Recipe Refreshing Summer Treat
- Pink Lavender Lemonade Refreshing and Healthy Drink
- Savory Steak Pizzaiola - An Italian Classic Recipe
- Chinese Beef and Broccoli Flavors to Crave Daily
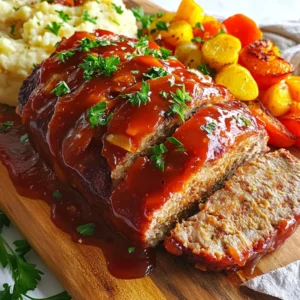
- Ultimate Meatloaf with Ketchup Glaze Tasty Family Meal
- Savory Lemon Tea Fried Chicken Recipe to Enjoy
- Coconut Lavender Lemonade Mocktail Refreshing Drink
- This Polish Goulash Is Hearty and Packed with Flavour
- Saucy Hungarian Red Potato Goulash Irresistible Comfort
- Crispy St. Patrick's Day Cabbage Fritters with Garlic Sauce
- Lemon Cheesecake Squares Delightful and Easy Recipe
- Easy Strawberry Cheesecake Rolls Recipe Delightful Treat
- Philly Cheesesteak Sliders Flavorful and Easy Recipe
- Golden Oreo Strawberry Cheesecake Bars Delightful Treat
- Banana Pudding Tacos Irresistible Dessert Delight
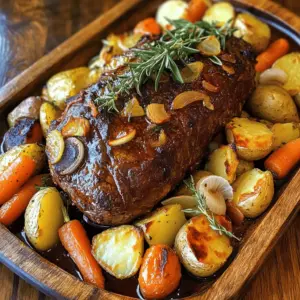
- Rosemary Roasted Pork with Maple Apple Sauce Delight
- Pina Colada Milkshakes Recipe Sweet and Simple Treat
- How to Make Blueberry Tea Lemonade Refreshing Drink
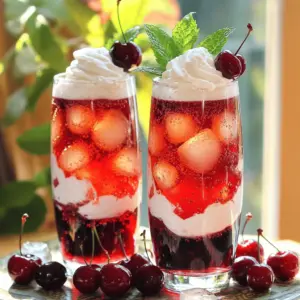
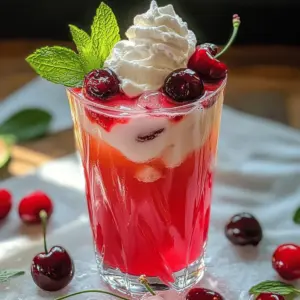
- Cherry Italian Cream Sodas Refreshing and Flavorful Drink
- Apple Cheesecake Tacos Flavorful and Fun Dessert
- Fried Pineapple Rings Tasty Tropical Snack Recipe
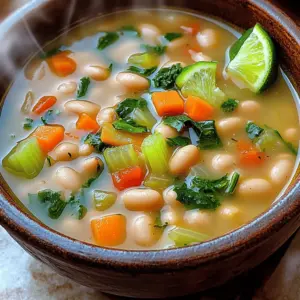
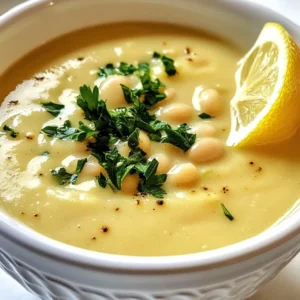
- Cuban White Bean Soup Recipe Flavorful and Simple Meal
- Strawberry Sweet Tea Refreshing Homemade Delight
- Iced Butterfly Pea Flower Tea Latte Refreshing Treat
- Pillsbury Biscuit Garlic Butter Cheese Bombs Delight
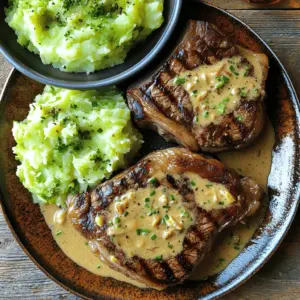
- Gaelic Irish Steaks with Whiskey Cream and Colcannon Delight
- Cake Batter Milkshake Delightful and Fun Recipe
- Caramel Apple Pie Milkshake Recipe Tempting and Tasty
- Cotton Candy Milkshake Delight Easy and Fun Recipe
- French Onion Steak Pinwheels Tasty and Easy Recipe
- Orange Blossom Delight Balls Simple and Delicious Treat
- Delicious Mississippi Mud Potatoes Recipe Made Easy
- Mexican Street Corn White Chicken Chili Delightful Dish
- Cuisinart Soft Serve Ice Cream & Slushy Maker Delight
- Mango Dragonfruit Refresher Fresh and Flavorful Drink
- Slow Cooker Zuppa Toscana Hearty and Flavorful Dish
- Creamy White Bean Soup Simple and Nourishing Dish
- Hearty Irish Bacon, Cabbage, and Potato Soup Recipe
- Cherry Earl Grey Milk Tea Delightful and Flavorful Drink
- Poor Man's Prime Rib Tasty and Affordable Recipe
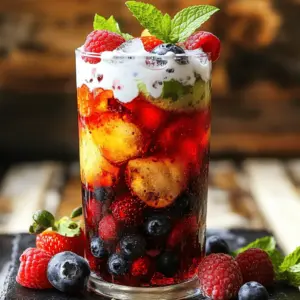
- Berry Italian Cream Soda Refreshing Summer Treat