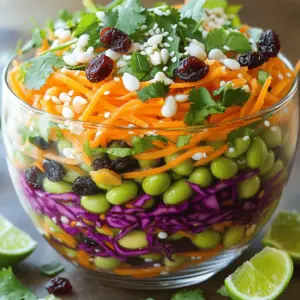
- Raw Carrot Salad Fresh and Flavorful Side Dish
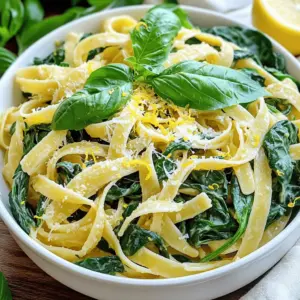
- Lemon Spinach Pasta Fresh and Flavorful Dish
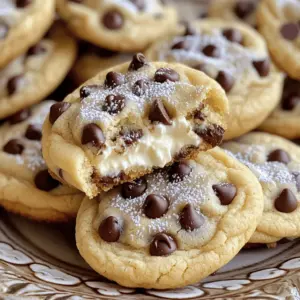
- Cheesecake-Filled Chocolate Chip Cookies Delight
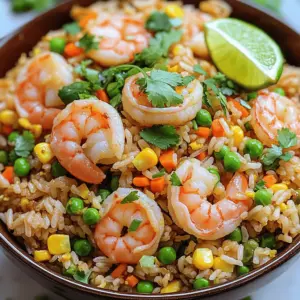
- Homemade Shrimp Fried Rice Flavorful and Easy Recipe
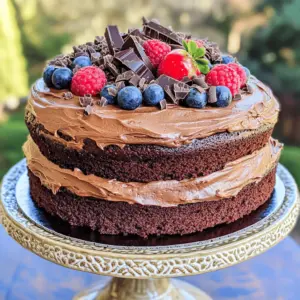
- Classic Chocolate Cake Deliciously Rich and Moist Treat
- Homemade Chicken Pizza Rolls Tasty and Simple Snack
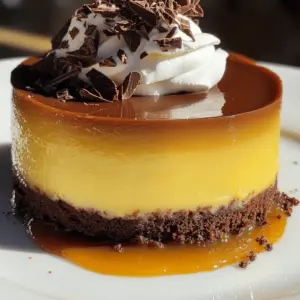
- Chocoflan Recipe Delightful and Easy Dessert Guide
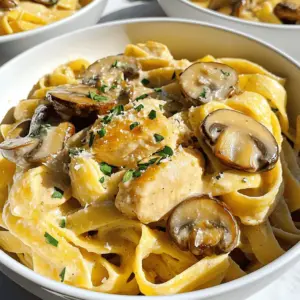
- Chicken and Mushroom Pasta in Silky Sauce Delight
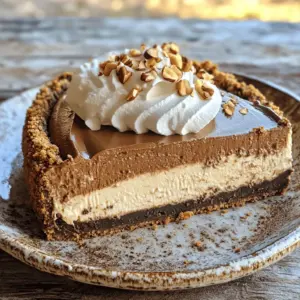
- Mocha Hazelnut Cheesecake Rich and Decadent Delight
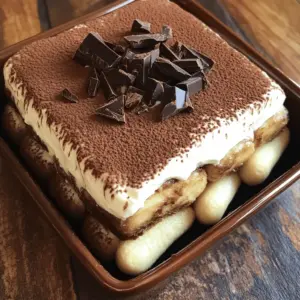
- Best Tiramisu Recipe Simple and Delicious Dessert
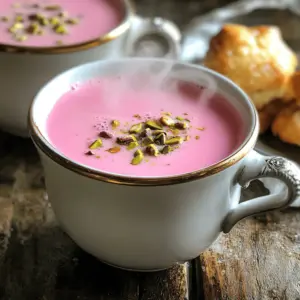
- Authentic Kashmiri Pink Chai Flavorful Warm Beverage
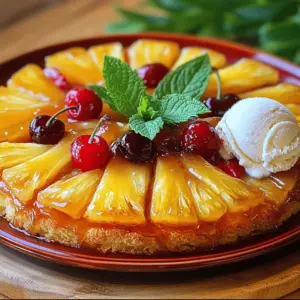
- Pineapple Upside Down Cake Delightful and Easy Recipe
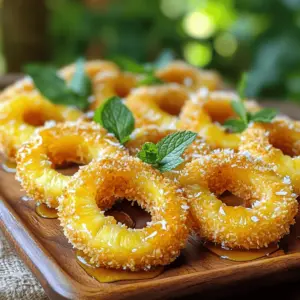
- Fried Pineapple with Coconut Crust Irresistible Delight
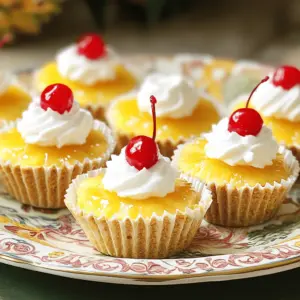
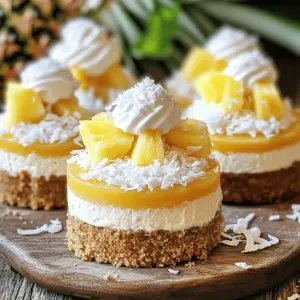
- Mini Pineapple Upside Down Cheesecakes Delightful Treat
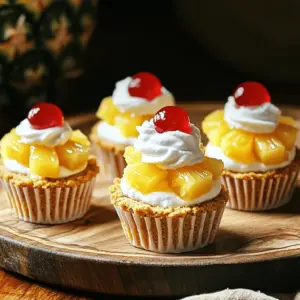
- Instant Pot Pineapple Upside Down Bites Tasty Treat
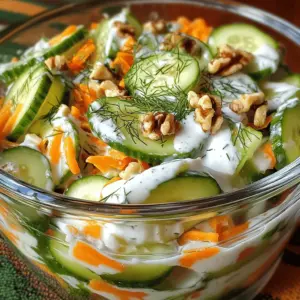
- Creamy Cucumber and Carrot Salad Fresh and Crunchy Delight
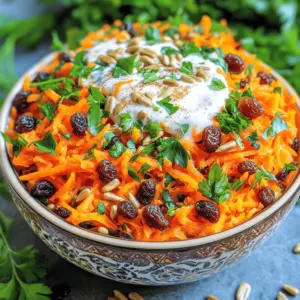
- Carrot Salad Refreshing and Healthy Side Dish
- Mini Pineapple Upside-Down Cheesecakes Delightful Treat
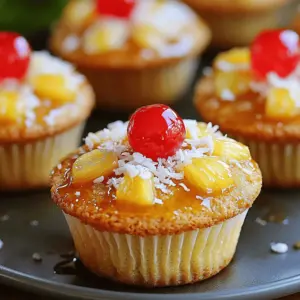
- Pineapple Upside-Down Cupcakes Delightful Treat Recipe
- Delight Mini Pineapple Upside-Down Cheesecake Treat
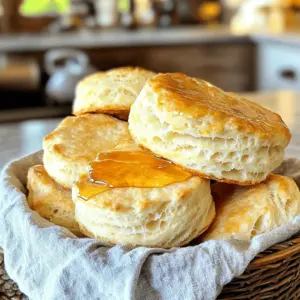
- Southern Buttermilk Biscuits Flaky and Rustic Delight
- Pineapple Upside Down Cake Drink Refreshing Delight
- Individual Pineapple Cheesecakes Delightful and Easy
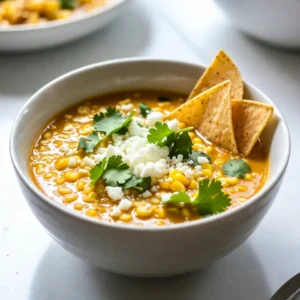
- Mexican Street Corn Soup Flavorful and Easy Recipe
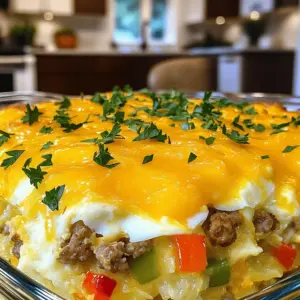
- Sausage Egg Casserole Hearty Breakfast Delight
- Cheesy Ham & Croissant Breakfast Bake Delight
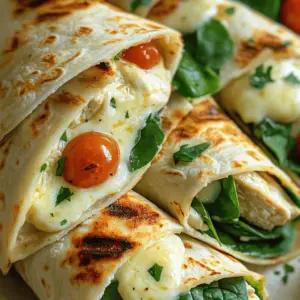
- Cheesy Garlic Chicken Wraps Flavorful and Easy Meal
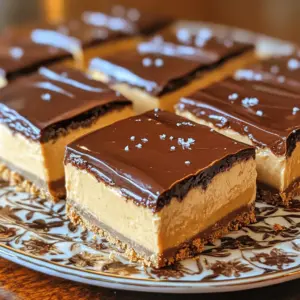
- No-Bake Buckeye Cheesecake Bar Sweet and Creamy Treat
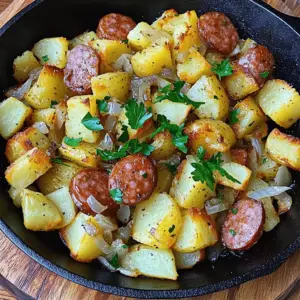
- Crispy Fried Potatoes with Polish Sausage Delight
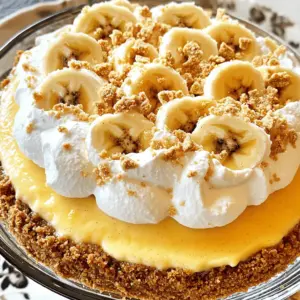
- Delicious Banana Pudding Crunch Cheesecake Recipe
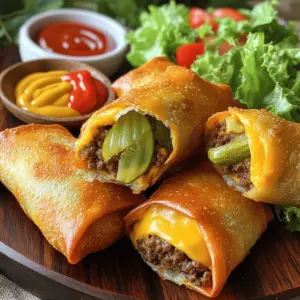
- Cheeseburger Egg Rolls Flavorful and Fun Snack Recipe
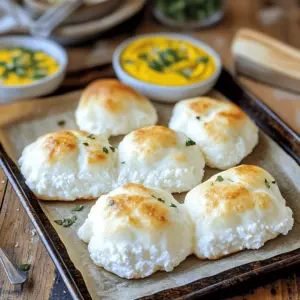
- Cottage Cheese Cloud Bread Light and Fluffy Delight
- Satisfying Potato and Sausage Chowder Recipe
- Quiche Stuffed Bagels Tasty and Easy to Make Recipe
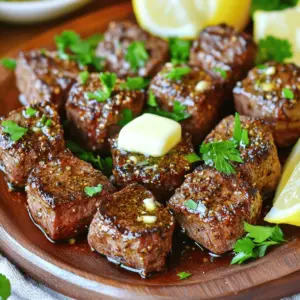
- Cajun Garlic Butter Steak Bites Irresistible Flavor Boost
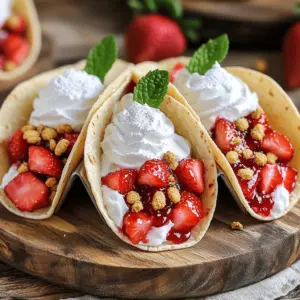
- Strawberry Cheesecake Tacos Delicious Dessert Delight
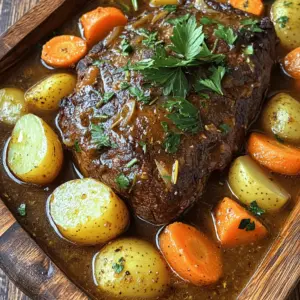
- Savory Pot Roast Easy Recipe for Comfort Food
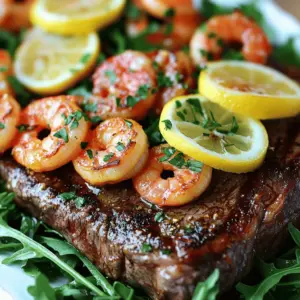
- Garlic Butter Steak and Shrimp Flavorful Dinner Delight
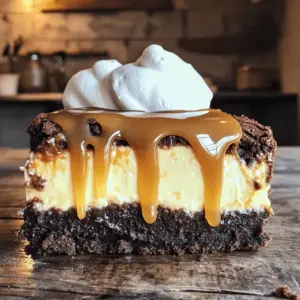
- Caramel Brownie Cheesecake Decadent and Rich Delight
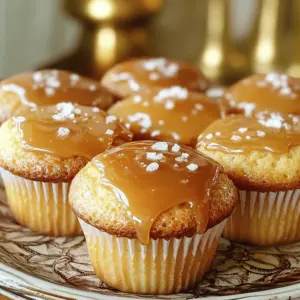
- Caramel Cupcakes Irresistible Sweet Treat Recipe
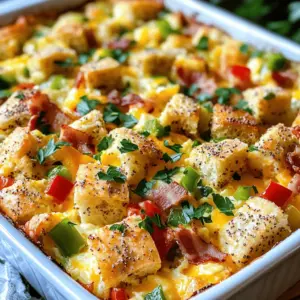
- Bagel Breakfast Casserole Flavorful Morning Dish
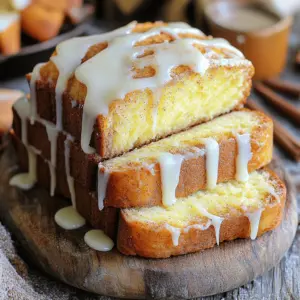
- The Best Dollywood Cinnamon Bread Recipe Delight