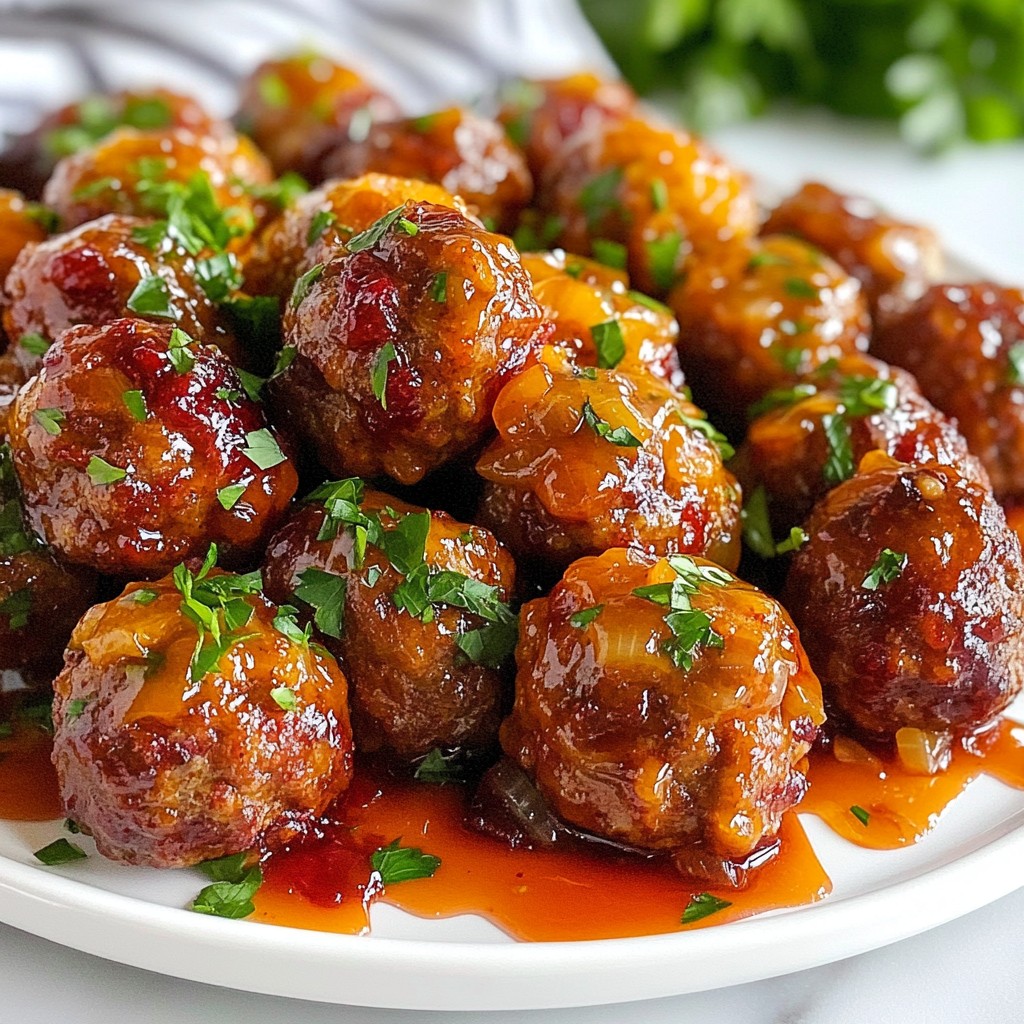
Looking for a quick and tasty meal? Let me show you how to make Air Fryer Sweet Chili Chicken Meatballs. This recipe is simple and full of flavor, making it perfect for busy weeknights or weekend get-togethers. You’ll only need a few ingredients, and the air fryer does all the hard work. Join me as we create golden, juicy meatballs that everyone will love!
Ingredients
Main Components
- 1 pound ground chicken
- ½ cup breadcrumbs
- ¼ cup grated Parmesan cheese
Flavor Enhancers
- 2 tablespoons sweet chili sauce
- 1 tablespoon soy sauce
- 2 cloves garlic, minced
Seasonings
- ½ teaspoon black pepper
- ¼ teaspoon salt
- 1 teaspoon minced ginger
To make these tasty meatballs, gather your ingredients first. I love using ground chicken for its mild flavor. It mixes well with the breadcrumbs and Parmesan cheese, adding a nice texture.
The sweet chili sauce is key. It brings a sweet and spicy kick to the dish. Soy sauce adds depth and a savory note. Minced garlic gives your meatballs a fresh taste.
For seasoning, use black pepper and salt to balance the flavors. Minced ginger adds warmth and a unique twist. Each ingredient works together to create mouth-watering meatballs that everyone will love.
Take time to mix everything well in a bowl. This ensures each bite is full of flavor. Trust me, the effort pays off!
Step-by-Step Instructions
Preparation
Mixing the ingredients
Start by gathering all your ingredients. In a large bowl, mix the ground chicken, breadcrumbs, and grated Parmesan cheese. Add the chopped green onions, minced garlic, sweet chili sauce, soy sauce, minced ginger, black pepper, and salt. Use your hands or a spoon to mix everything well. Make sure all the ingredients blend perfectly.
Preheating the air fryer
While you mix, preheat your air fryer to 375°F (190°C). Preheating helps cook the meatballs evenly. This step is key for a nice, crispy outside.
Cooking the Meatballs
Shaping the meatballs
Once mixed, shape the chicken mixture into golf ball-sized meatballs. Aim for 1 to 2 inches in diameter. Place them on a plate as you shape them. Make sure they are not touching each other. This spacing helps them cook better.
Air frying process
Lightly spray the air fryer basket with cooking spray. Place your meatballs in the basket, ensuring they have space around them. Cook the meatballs for 12 to 15 minutes. Halfway through, shake the basket to help them cook evenly. Check if they're golden brown and cooked inside.
Serving Suggestions
Resting the meatballs
Once cooked, take the meatballs out of the air fryer. Allow them to rest for a couple of minutes. This helps keep them juicy.
Presentation tips
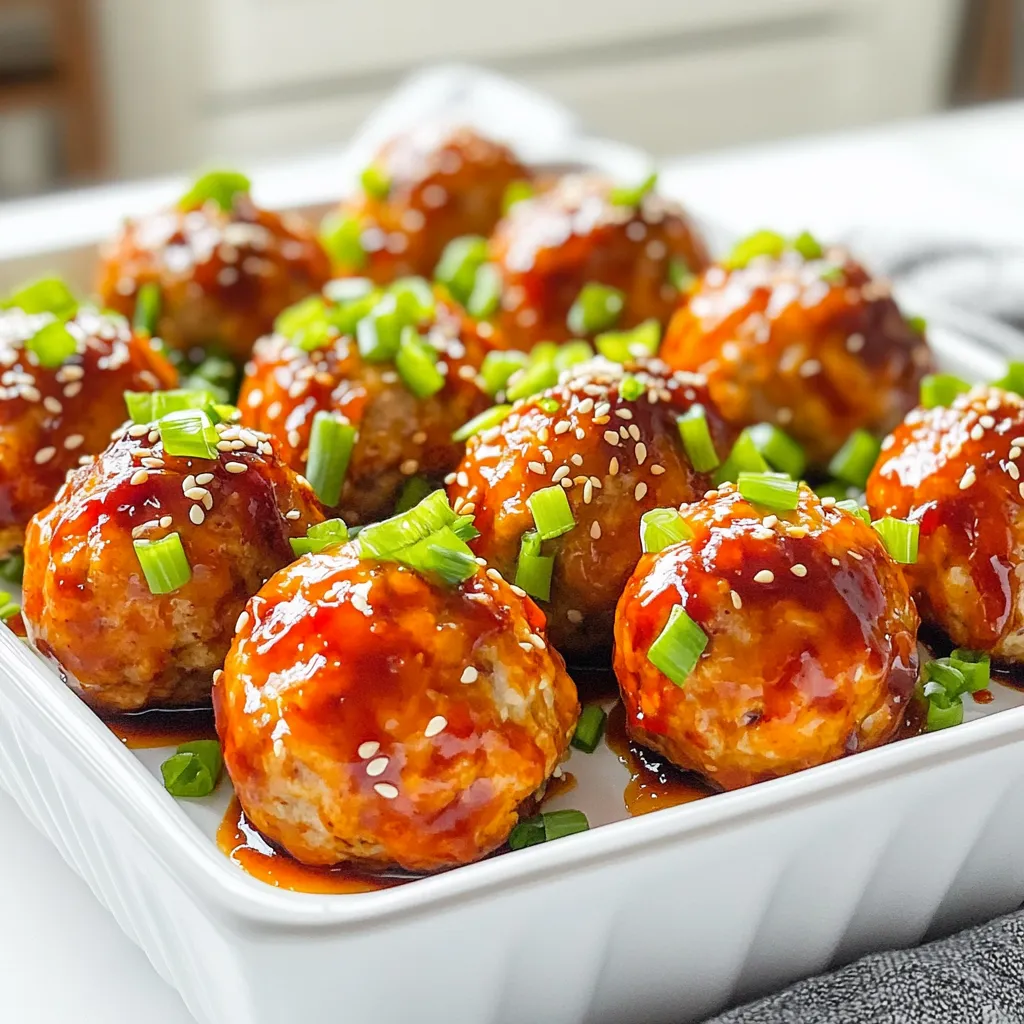
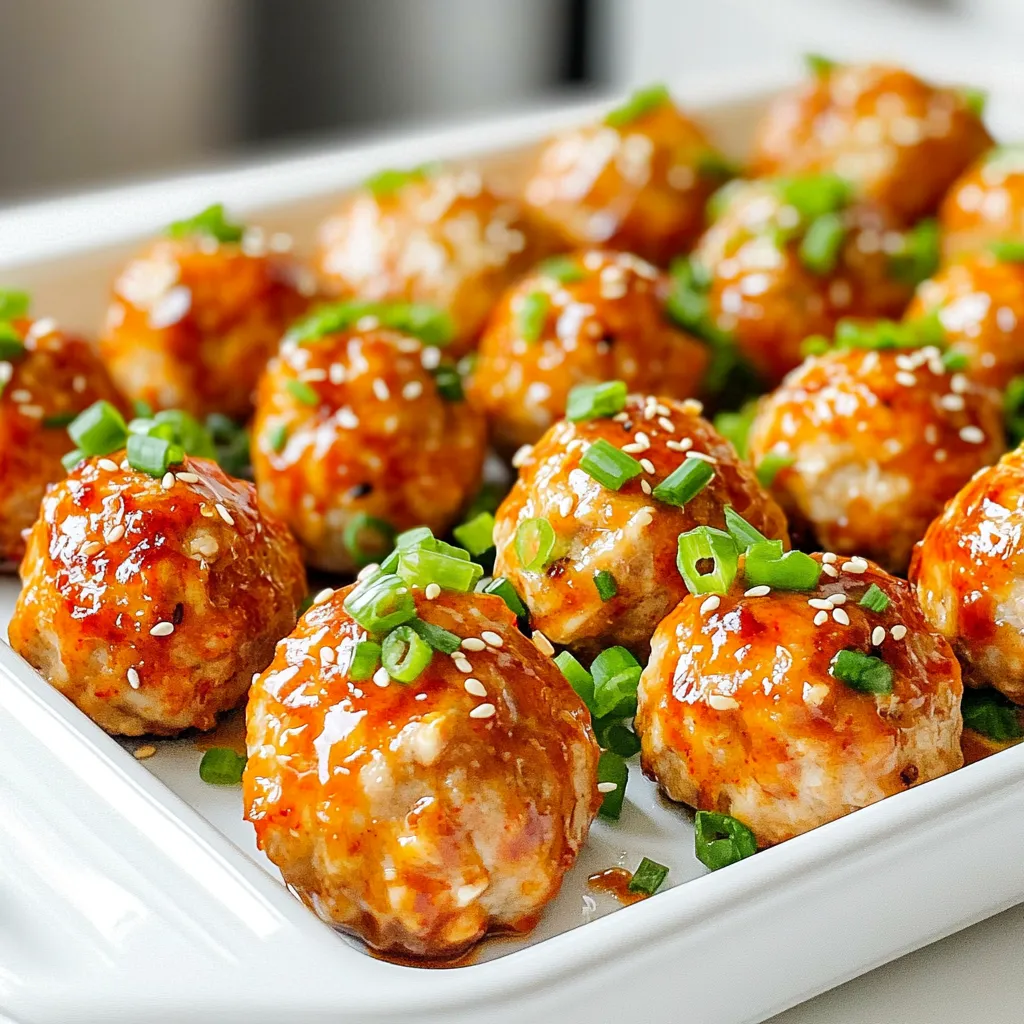
Serve the meatballs on a platter. Drizzle extra sweet chili sauce on top. Garnish with chopped green onions and sesame seeds for color. Enjoy them warm as a tasty appetizer or with rice for a main dish.
Tips & Tricks
Cooking Tips
To ensure even cooking, space the meatballs apart in the air fryer. This way, hot air can flow around them. Preheat your air fryer to 375°F (190°C) before cooking. Cook the meatballs for 12-15 minutes. Shake the basket halfway through to help them cook evenly.
Ingredient Adjustments
You can swap ground chicken for ground turkey for a lighter option. If you need gluten-free meatballs, use gluten-free breadcrumbs. These small changes keep the flavor while making the dish fit your needs.
Enhancing Flavor
Boost the taste with extra spices. Try adding a pinch of cayenne for heat or paprika for smokiness. You can also use different sweet chili sauces. Some are sweeter, while others have a spicy kick. Experiment to find your favorite!
Variations
Ingredient Swaps
You can switch up the protein in these meatballs. Try using ground pork or beef for a different taste. You can also use ground turkey if you want a leaner option. For a vegetarian choice, use lentils or chickpeas. Just mash them well and mix with the other ingredients.
Sauce Variations
If you want to make your own sweet chili sauce, mix sugar, vinegar, and red chili flakes. Heat this mix until the sugar melts. You can also try other sauces. Barbecue sauce or honey mustard works great as dipping sauces.
Serving Styles
These meatballs are great in many ways. Make a meatball sub by placing them in a roll with sauce and cheese. You can also use them as salad toppings. They add flavor and protein to your greens. Enjoy them any way you like!
Storage Info
Storing Leftovers
To keep your air fryer sweet chili chicken meatballs fresh, store them in the fridge. Place them in an airtight container. They will stay good for up to three days. For longer storage, you can freeze them. Pack them into freezer bags, removing as much air as possible. They will last up to three months in the freezer.
Reheating Instructions
When it’s time to enjoy your leftovers, use the air fryer for the best results. Preheat it to 350°F (175°C). Place the meatballs in the basket and heat for about 5-7 minutes. This method helps keep them juicy and warm. Avoid using the microwave, as it can make them dry and tough.
Meal Prep Ideas
Batch cooking is a great way to save time. Make a double batch of meatballs on the weekend. Store some in the fridge and freeze the rest. You can add these meatballs to salads, pasta, or rice dishes. They are also perfect for sandwiches or wraps. This way, you always have a quick meal ready to go!
FAQs
How long do I cook air fryer meatballs?
I recommend cooking air fryer meatballs for 12-15 minutes at 375°F (190°C). Check them halfway through and shake the basket for even cooking. When they are golden brown and cooked through, they are ready to eat.
Can I use frozen ground chicken?
Yes, you can use frozen ground chicken. Just make sure to thaw it before mixing. If you cook from frozen, add a few extra minutes to the cooking time. Always check the internal temperature to ensure it's safe.
What to serve with sweet chili chicken meatballs?
Sweet chili chicken meatballs pair well with many sides. Here are some ideas:
- Steamed rice
- Quinoa salad
- Roasted vegetables
- Fresh cucumber salad
- Noodles with soy sauce
This article shared how to create tasty sweet chili chicken meatballs. You learned the key ingredients, from ground chicken to parmesan cheese. I walked you through preparation, cooking, and serving steps to get delicious results. We explored tips for even cooking and ingredient swaps for flavor.
In summary, making these meatballs is easy and fun. You can impress friends or family with your new skills. Now, go enjoy your sweet chili meatballs, and don’t be afraid to experiment!