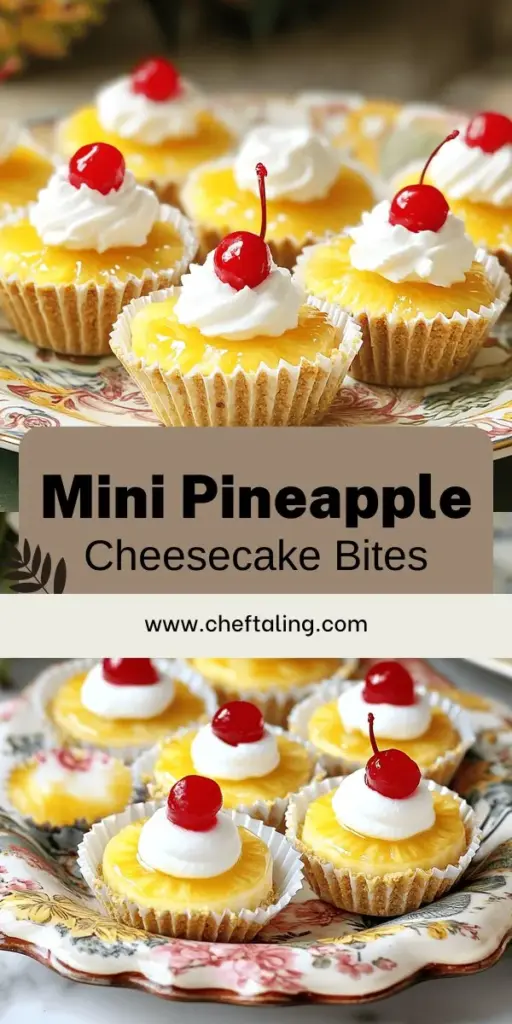
Are you ready for a sweet twist on a classic dessert? Mini Pineapple Upside-Down Cheesecakes are the perfect blend of creamy and fruity. They offer a delightful burst of flavor in every bite. In this post, I’ll walk you through each step. From the crust to the perfectly baked filling, I’ll share tips that will help you impress your friends and family. Let’s dive in and make these tasty treats together!
Ingredients
To make the mini pineapple upside-down cheesecakes, here’s what you need:
- Crust components:
- 1 cup crushed graham crackers
- 1/4 cup granulated sugar
- 1/2 cup unsalted butter, melted
- Cheesecake filling:
- 16 oz cream cheese, softened
- 3/4 cup powdered sugar
- 1 tsp vanilla extract
- 2 large eggs
- 1 cup crushed pineapple, drained
- Garnish:
- 12 maraschino cherries, for topping
- Optional whipped cream
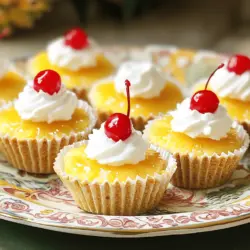
I love using crushed graham crackers for the crust. It gives a great flavor and a nice crunch. The cream cheese filling is rich and smooth. The crushed pineapple adds a tropical twist. You might want to drain the pineapple well to keep the filling from getting too wet.
Don’t forget the maraschino cherries on top! They make each cheesecake look fun and inviting. For a little extra flair, consider adding whipped cream if you like. It makes every bite feel special. This recipe is not just about taste; it’s about making a treat that looks good too! For the full details, check out the Full Recipe.
Step-by-Step Instructions
Preparation Steps
1. Preheat the oven and prepare the muffin tin: Start by preheating your oven to 325°F (163°C). This ensures even baking for your mini cheesecakes. Next, take a muffin tin and line it with paper liners. This makes removing the cheesecakes much easier later.
2. Combine crust ingredients and form the crust: In a bowl, mix together 1 cup of crushed graham crackers, 1/4 cup of granulated sugar, and 1/2 cup of melted unsalted butter. Stir well until the mixture looks like wet sand. Now, press about 1 tablespoon of this mixture into the bottom of each muffin liner. This forms a sturdy crust. Bake for 5-7 minutes until they are slightly golden. Once done, remove them from the oven and let them cool.
Cheesecake Filling Steps
1. Mix cream cheese and sugars: In a large mixing bowl, add 16 oz of softened cream cheese. Use an electric mixer to beat it until smooth. Slowly add 3/4 cup of powdered sugar and 1 teaspoon of vanilla extract. Keep mixing until everything is well combined.
2. Incorporate eggs and pineapple into the mixture: Now, it’s time to add the eggs. Beat in 2 large eggs one at a time. Mix just until combined; be careful not to overmix. Then, gently fold in 1 cup of drained crushed pineapple. This adds the classic pineapple flavor to your filling.
Baking and Cooling Steps
1. Fill the crusts and bake the cheesecakes: Take your muffin tin with the cooled crusts and divide the cheesecake batter evenly among them. Fill each liner about 3/4 full. Place the muffin tin in the preheated oven and bake for 18-20 minutes. The edges should be set, but the centers may still jiggle a bit.
2. Cooling methods and refrigeration time: Once baked, turn off the oven and crack the door open. This helps the cheesecakes cool slowly, preventing cracks. Let them cool in the oven for about 10 minutes. After that, remove them and let them cool completely at room temperature. Finally, refrigerate them for at least 2 hours before serving. Enjoy the Full Recipe for more details!
Tips & Tricks
Expert Tips for Perfect Cheesecakes
How do I prevent cracking?
To stop cracks, cool the cheesecakes gently. After baking, turn off the oven and crack the door. Let them cool inside for about 10 minutes. This slow cooling helps keep the tops smooth.
Why is it important to use room temperature ingredients?
Using room temperature ingredients is key. Cold cream cheese can lead to lumps. It also mixes better, creating a creamy filling. Take your eggs and cream cheese out ahead of time. Let them sit for about 30 minutes before you start.
Serving Suggestions
What are some good presentation ideas?
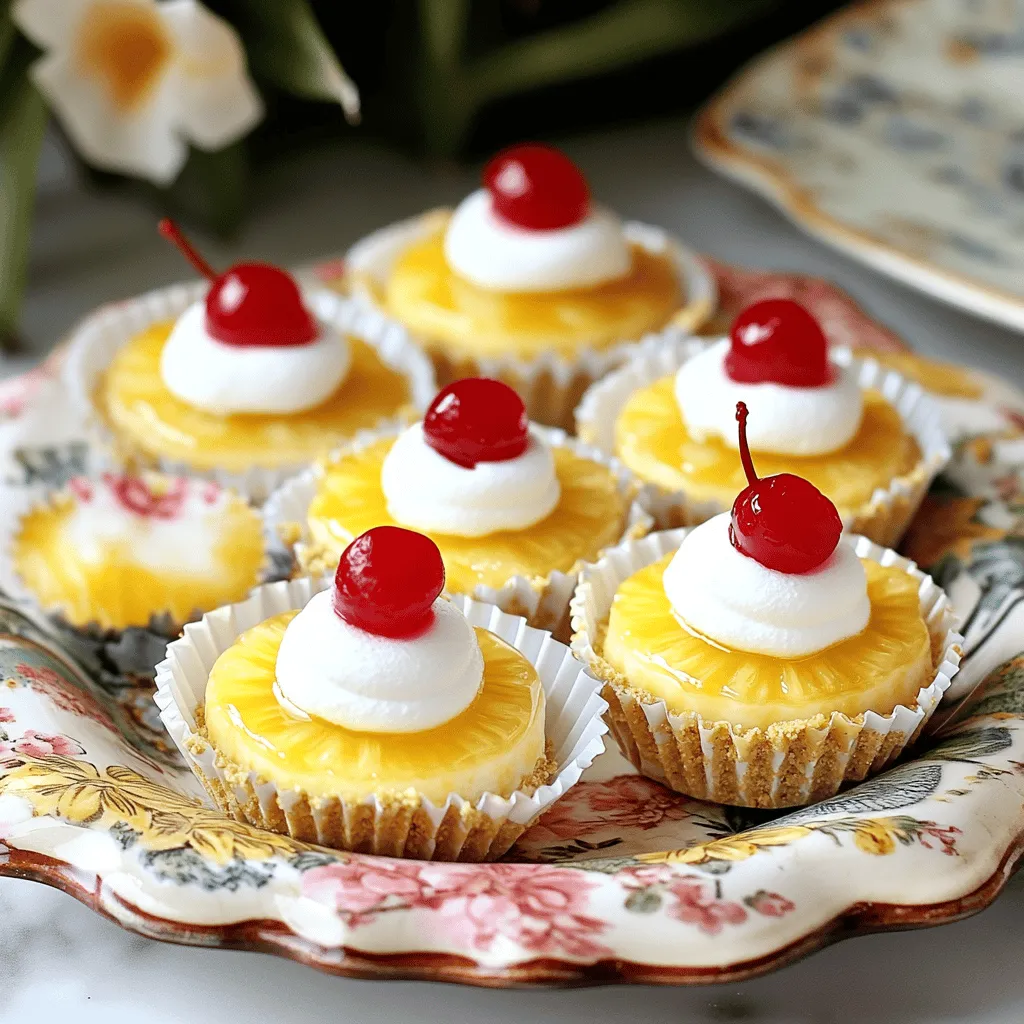
Serve your mini cheesecakes on a bright platter. Add color with extra crushed pineapple or fresh mint leaves. A sprinkle of toasted coconut can also add a fun touch. These little details make your treat pop!
What should I pair with these cheesecakes?
Whipped cream is a classic choice. It adds a light, fluffy texture. You can also serve them with a scoop of vanilla ice cream. For a tropical twist, consider adding fresh fruit like mango or kiwi.
For the full recipe, check out the detailed instructions above!
Variations
Flavor Variations
Want to make your mini pineapple upside-down cheesecakes even more exciting? Consider adding coconut for a tropical twist. Shredded coconut complements the pineapple’s sweetness. Just mix in about 1/2 cup of shredded coconut into the cheesecake batter. This will bring a delightful chewiness and flavor that transports you to a sunny beach.
You can also switch up the fruit toppings. Try using peaches, cherries, or berries. Each fruit brings a unique taste and color. For example, fresh strawberries give a bright contrast to the pineapple. Just make sure to chop the fruit into small pieces. This way, it mixes well with the cheesecake.
Ingredient Substitutions
If you need a dairy-free option, swap the cream cheese with a dairy-free cream cheese. Many brands offer great flavors that work well in cheesecakes. Look for products made from cashews or almonds for the best results.
You can also change the sugar in the recipe. Use honey, maple syrup, or agave nectar as natural sweeteners. These options can add a different taste while keeping the sweetness. Adjust the amount based on your preference. Just remember, natural sweeteners can change the texture a bit, so keep an eye on the consistency while mixing.
For the full recipe, check out the detailed instructions provided earlier.
Storage Info
How to Store Mini Cheesecakes
To keep your mini pineapple upside-down cheesecakes fresh, store them in the refrigerator. Place each cheesecake in an airtight container. Cover them well to avoid any odors from mixing. They will stay tasty for up to five days. If you want to keep them longer, freezing is a great option. Wrap each cheesecake in plastic wrap, then place them in a freezer-safe bag. They can last up to three months in the freezer.
Shelf Life
For the best taste and quality, eat your cheesecakes within five days if stored in the fridge. When frozen, they maintain quality for about three months. Always check for signs of spoilage. If you see any mold or if they smell off, it’s best to discard them. Enjoy your treats at their best! For the full recipe, check the details above.
FAQs
What are the best tips for making mini cheesecakes?
To make mini cheesecakes, start with room temperature cream cheese. This helps blend it smoothly. Use a scale to measure ingredients for accuracy. Be sure not to overmix the batter. Mix just until combined after adding eggs. This keeps your cheesecakes light and fluffy. Press the crust tightly into the muffin tin. This gives it a nice base. Also, let them cool slowly in the oven. This step helps avoid cracks on the surface.
Can I make these cheesecakes in advance?
Yes, you can prepare these mini cheesecakes ahead of time. Make them a day before your event. After they cool, cover them well. Store them in the fridge until you are ready to serve. You can also freeze them for longer storage. Just wrap each cheesecake in plastic wrap and foil. They can last up to three months frozen. To enjoy, thaw them in the fridge overnight before serving.
What can I use instead of graham crackers?
If you need alternatives to graham crackers, there are many options! Try using crushed cookies like Oreos or vanilla wafers. For a gluten-free option, use almond flour mixed with coconut oil. You can also use crushed nuts like pecans or walnuts for a nutty flavor. Just make sure to add a little sugar to sweeten the crust if needed. Each option gives a unique taste to your mini cheesecakes. Enjoy experimenting with these crusts!
Mini cheesecakes are simple and fun to make. Start with the crust and filling, then bake. Remember to use room temperature ingredients to avoid cracks. Try different flavors and toppings to make them your own. Store leftovers in the fridge or freeze for later. These treats bring joy to any occasion. Enjoy your baking adventure!